How To Create Minimalist French Tip Dot Nail Art Using Dip Powder

Difficulty
Moderate
Time required
1 Hour
Salon price 
Est. $90/Mani
DipWell price
Est. $4/Mani
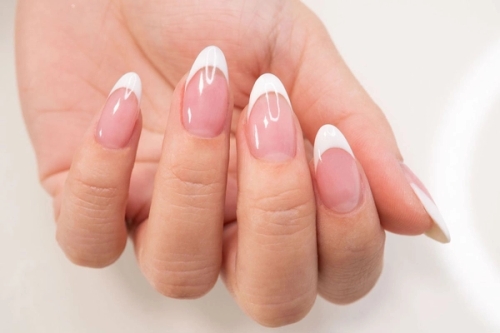
If you've been looking for modern dip powder nail ideas, look no further! Here is a new twist on a classic french dip manicure: our Minimalist French Tip Dot design lets you decide how bold you want to be - use a classic white for subtle a look, or be bold with a deeper shade or a bright neon. The choice is yours! When it comes to minimal nail designs, it doesn't get more chic than this. And if you're new to dip powder nail art, this is a perfectly doable style to start with. Watch our easy step-by-step tutorial and you'll be sporting minimalist nails in no time!
PRO TIP: Make sure you thoroughly prep nails to ensure adhesion & long-lasting wear! Push back cuticles, create a rough texture on the nail plate by filing, and sanitize thoroughly.
Loading products...
Step 1

- Apply a thin coat of Step 1 Bond. Allow it to dry completely.
Step 2


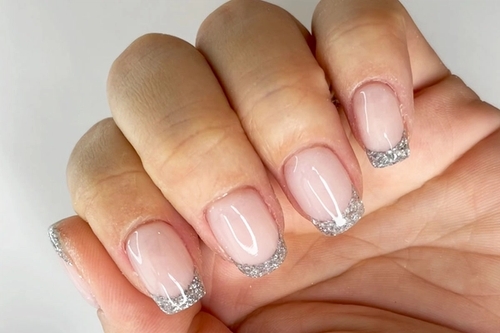
- Paint a thin coat of Step 2 Base and immediately dip tip of finger at an angle intocolor powder NE-04, creating a French smile line.
PRO TIP: You don't have to use the same colors we did! Use whatever color you like.
Step 3

- Tap finger to get rid of loose powder and then dip into the secondary color powder - NA-23.
PRO TIP: Avoid getting the product onto cuticles, powder will pick up wherever Base is applied.
Step 4


- Repeat for more coverage and until desired opacity.
Get free tutorials, special deals every week!
Sign up for fresh nail inspo & exclusive discounts delivered right to your inbox.
By subscribing, you acknowledge our Privacy Policy.
Step 5


- Apply Step 3 Activator and allow a few minutes for powder to harden.
- Buff and shape nails to create a smooth surface.
PRO TIP: Activating this layer of dip will prevent the top layers of dip to bleed and soak into the background color!
Step 6


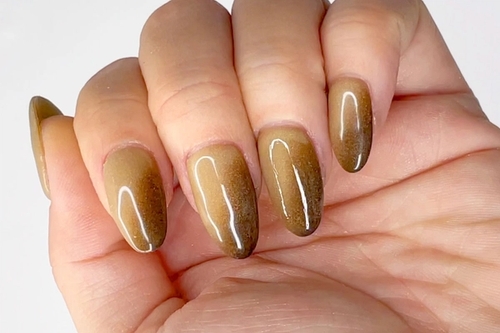
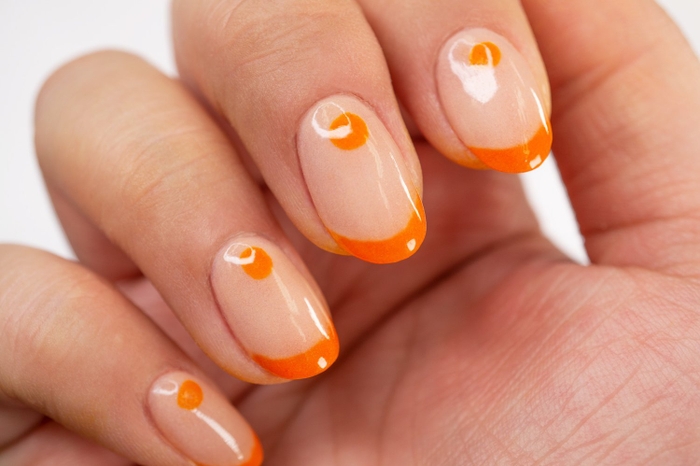
- Paint a dot of Step 2 Base near the top of the nail bed and pour NA-04 over the dot of Base.
Step 7


- Apply Step 2 Base on the entire nail and then dip the nail into Base & Finish.
- Tap finger to rid of loose powder and use a fluffy brush to remove excess power.
Step 8


- Apply Step 3 Activator, allow 3-5 minutes for nails to harden.
- Then buff & shape nails to your desired finish.
Step 9

- Wash hands or use a lint free wipe saturated in alcohol to wipe the nails clean.
PRO TIP: Make sure nails are completely dry before moving to the next step!
Step 10

- Apply a second coat of Step 3 Activator.
- Allow 3-5 minutes for nails to harden.
Step 11


- Paint a coat of Step 4 Sealer and allow 2-3 minutes for nails to dry.
- Paint another coat of Step 4 Sealer and allow 2-3 minutes for nails to dry.
PRO TIP: Don't apply more than 2 coats of Sealer as this will prevent even drying & may result in a gummy mani.
Finish!

- Enjoy this minimal mani to transition into the start of fall 🍂
Get free tutorials, special deals every week!
Sign up for fresh nail inspo & exclusive discounts delivered right to your inbox.
By subscribing, you acknowledge our Privacy Policy.