Ever think about all the high-tech power tools at a salon and think you can’t get the same effects at home without investing in the same pro equipment? Well, today we’re taking down the myth that you need an electric file to effectively and quickly shape and buff nails.
The truth: you can get amazing results with the right manual files and buffers.
Keep reading to find out what makes a good file, and how to choose the right ones for you from the vast array you’ll see online.
The Difference Between Manual and Electric Files
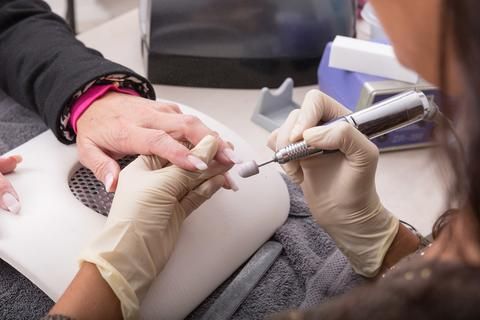
Electric files use drill mechanisms with interchangeable metal tips coated with carbide and diamond abrasives designed to shape and buff acrylic nails.
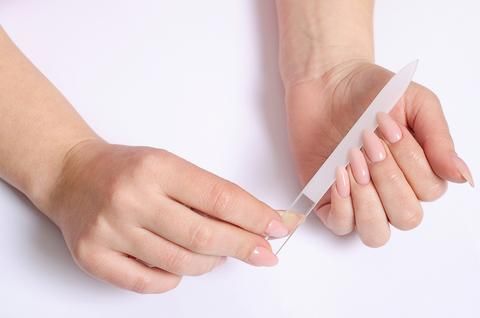
Manual files comprise the emery boards and foam buffer blocks we’ve all grown up with and see in the aisles of our local drugstore. They’re simple devices, but that doesn’t mean they’re all created equally - keep reading for our top product recs. You want to make sure you’re choosing files that work well for your purposes.
Electric files are great inventions in some ways - they do help technicians speed up services and reduce the repetitive movements that, when done hour after hour, can lead to carpal tunnel syndrome.
But, when you’re doing your own nails, shaving off a few seconds, well it isn’t as important. And getting your dream shape only takes a few minutes with a regular file.
Get free tutorials, special deals every week!
Sign up for fresh nail inspo & exclusive discounts delivered right to your inbox.
By subscribing, you acknowledge our Privacy Policy.
What All the Labels Mean
So you’re browsing for a simple file and the terms start flying at you “fine” “super fine” “silicon carbide” “garnet” “wood-backed”
It can be overwhelming! So here’s a quick guide to the most popular file types you’ll see.
Nail files are numbered the same way sandpaper is: If you’ve refinished kitchen cabinets or done woodshop projects, you’ll remember the counter-intuitive numbering of sandpaper. Just remember: The bigger the number, the finer the grain.
So an 80 grit file is extremely coarse, while a 2400 grit file is extremely fine.
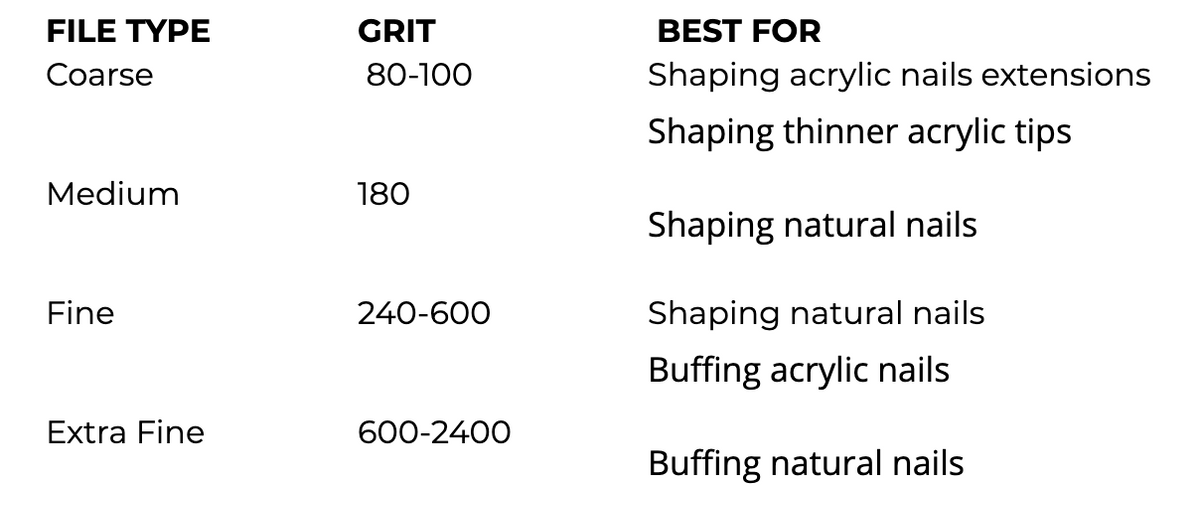
Next up, let's talk material types. The grit - those little grains that do all the work of creating beautiful nail shapes and glossy smooth surfaces, come in several varieties
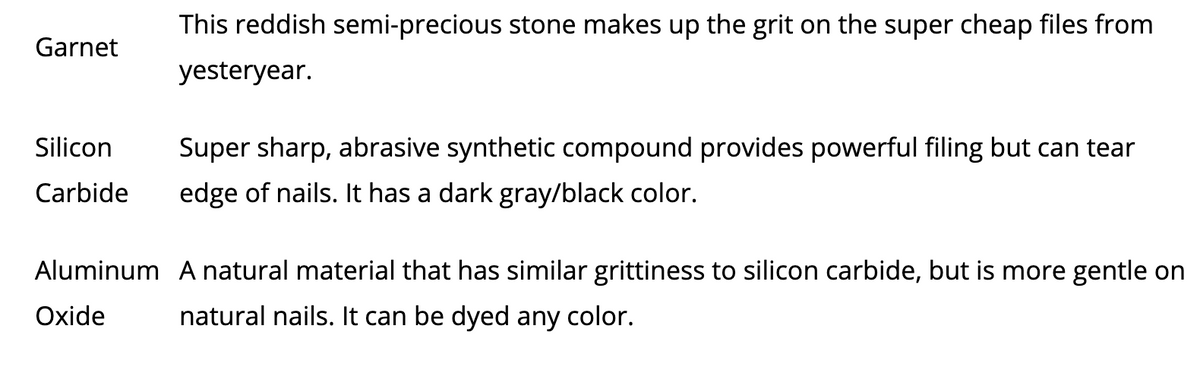
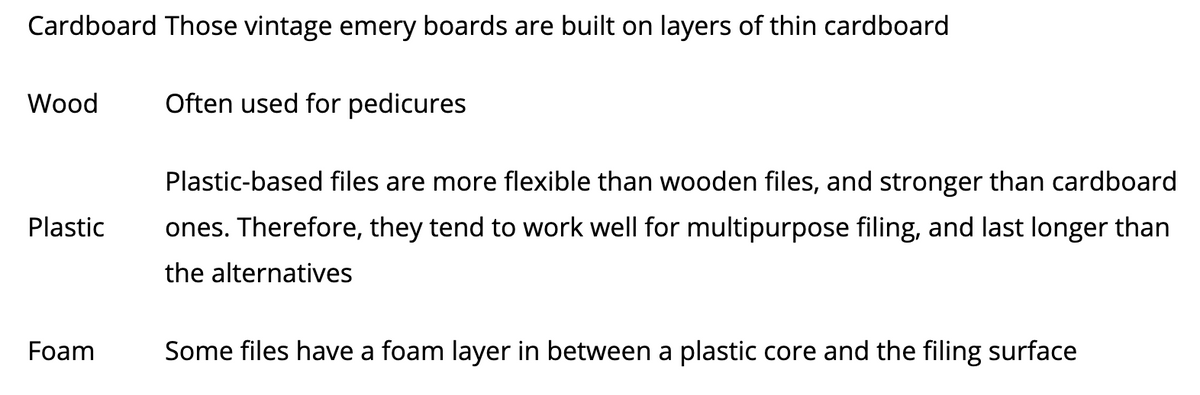
The backing and core materials also come in several variations:
A note on metal files: avoid them. That’s our clear and simple advice. Metal files are simply too abrasive and rigid - it’s very easy to tear or damage nails with a metal file.
The Ins and Outs of Good Filing
It might be one of the least-exciting parts of a manicure, but filing and buffing your nails correctly is absolutely critical for healthy nails and gorgeous manicures.
Here are our top three tips for using these tools correctly:
1. To prevent sharing any nasty bacteria, buffers and files should never be shared - even with your BFF
2. Files and buffers wear out over time - and when that happens they're just not effective. Toss them whenever you notice they're becoming dull
3. When you're at a salon, every buffer and file the technician uses should be new and freshly unwrapped
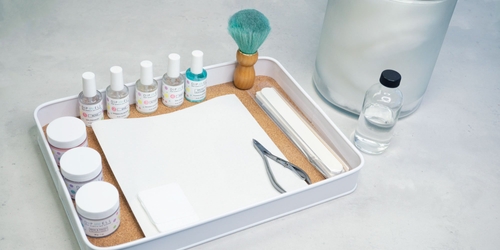
DipWell’s Top Recommendations
Our team has years of experience both working directly with nail professionals, and with doing our own nails for the fun of it. And all that experience has taught us a few things about which files and buffers work the best.
When we do R&D we’re especially on the lookout for tools that are easy for anyone to use properly. Because great nails should be accessible for everyone!
So we’ve created a brand new kit that includes our very favorite file and buffer. And it’s officially available in our shop now!
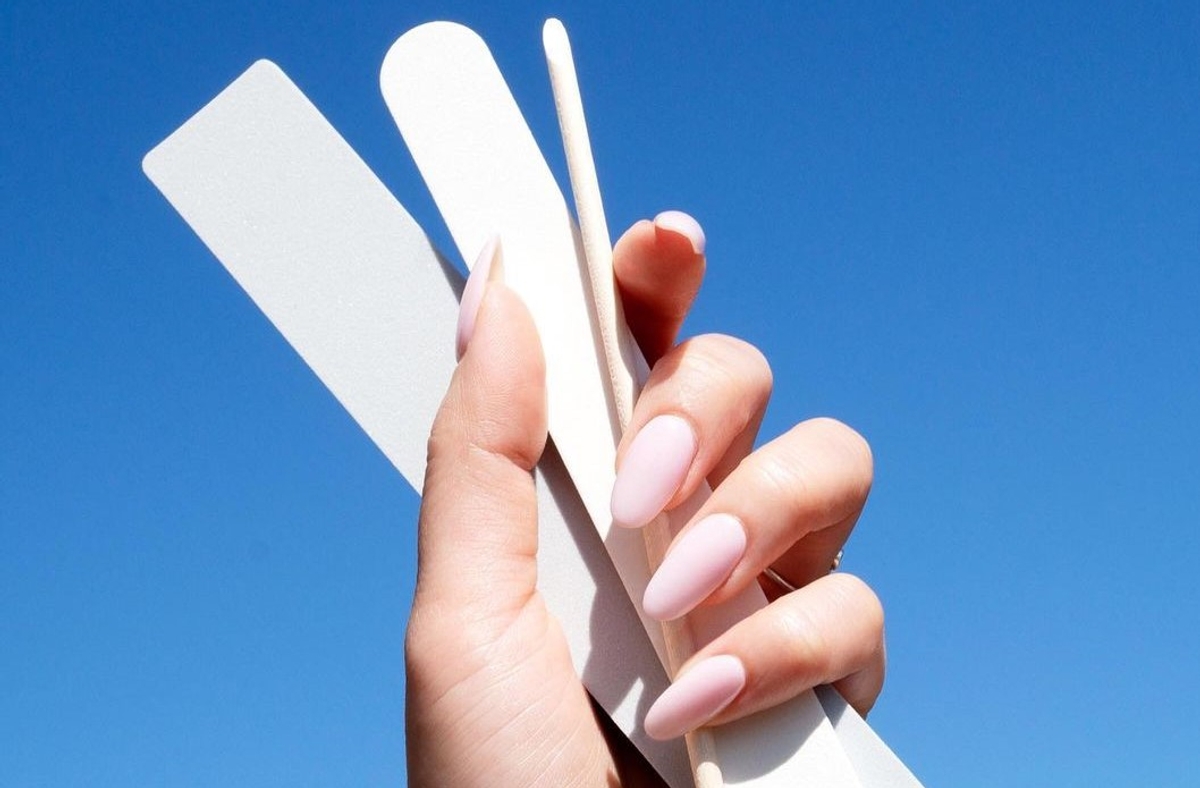
1. A file with 100 and 180 grit sides
This versatile tool is your go-to for shaping nails. Its abrasive surface is made of Aluminum Oxide Powder sourced from a top supplier in Japan. And it has an Eva Foam and plastic core which gives it just the right amount of strength and flexibility.
2. A buffer with a 180 and 280 grit sides
A buffer with more than one grit gives you more versatility and allows for more appropriate buffing. Again we’re super proud of the one we’ve sourced for our DipWell community.
You’ll know which side is which because the 180 side is gray, and the 280 side is white.
Long-time fans might be familiar with our 220/280 buffer, but we’ve updated our new one to have a side that’s 180 to help you even out bumps and unevenness with minimal buffing.
And the classic 280 grit (white side) should be used for final buffing and getting a smooth texture that’s manicure-ready. This side helps create the right foundation for Step 4 Sealer to shine.
3. An orangewood stick.
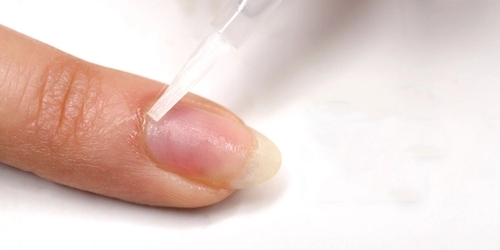
You’ve probably seen these in the context of pushing back cuticles pre-manicure. But they’re also a fabulous tool for gently separating powder from your cuticles right after you dip them in acrylic powder.
Bonus tip: have you ever done an acrylic dip manicure and noticed that the powder lifted before you were ready to change colors? It’s likely because the powder got on your skin or cuticles. Orangewood stick to the rescue!
With the help of simple, but well-made tools like these, you can achieve both the perfect shape, and the smooth surface you need for gorgeous nails.
Written by: Anna Bradshaw
Get free tutorials, special deals every week!
Sign up for fresh nail inspo & exclusive discounts delivered right to your inbox.
By subscribing, you acknowledge our Privacy Policy.