4th of July Dip Nails in Red, White, and Blue

Difficulty
Moderate
Time required
45 Minutes
Salon price 

Est. $69+ / Mani
DipWell price 

Est. $6 / Mani
Step 1

- Apply a thin coat of Step 1 Bond. Allow it to dry completely.
Step 2
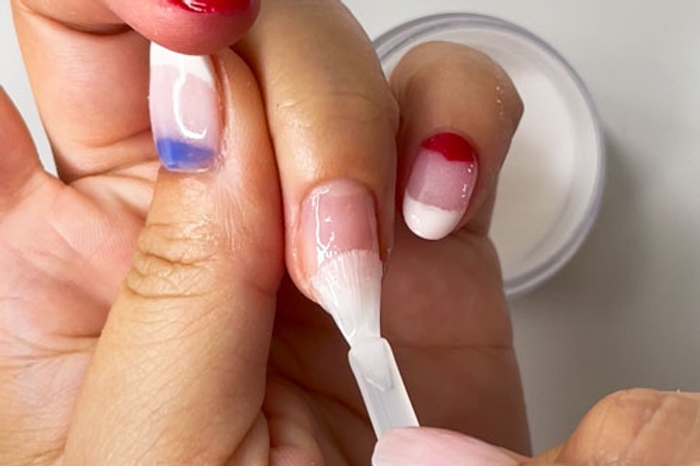

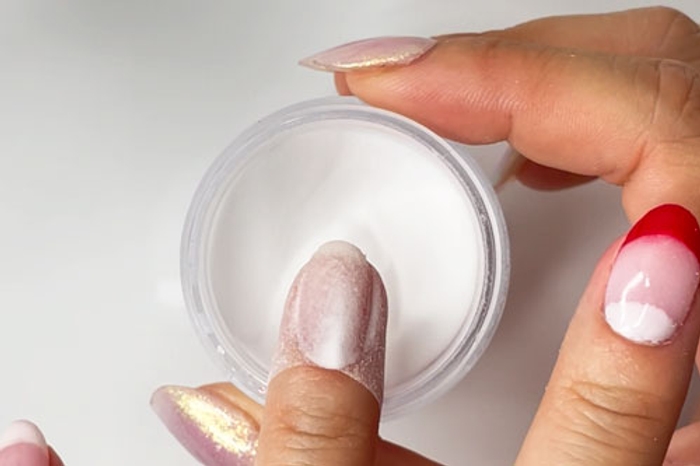
- Apply a thin coat of Step 2 Base to the entire nail and immediately dip fingernail into the shade Natural Pink.
PRO TIP: Avoid getting the product onto cuticles, powder will pick up wherever Base is applied.
Step 3
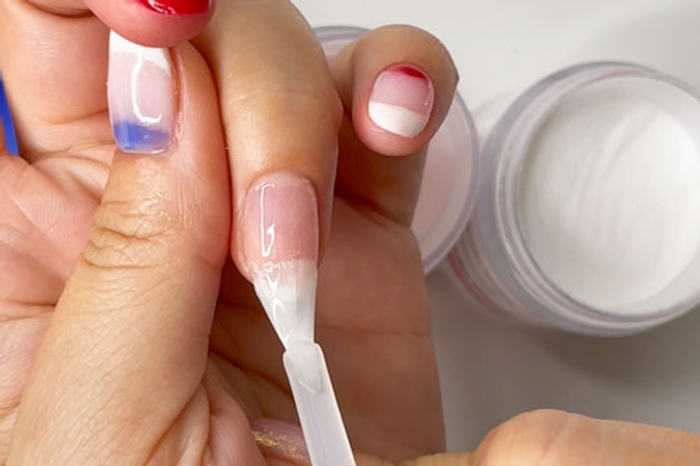
- Apply another coat of Step 2 Base to the entire nail.
Step 4
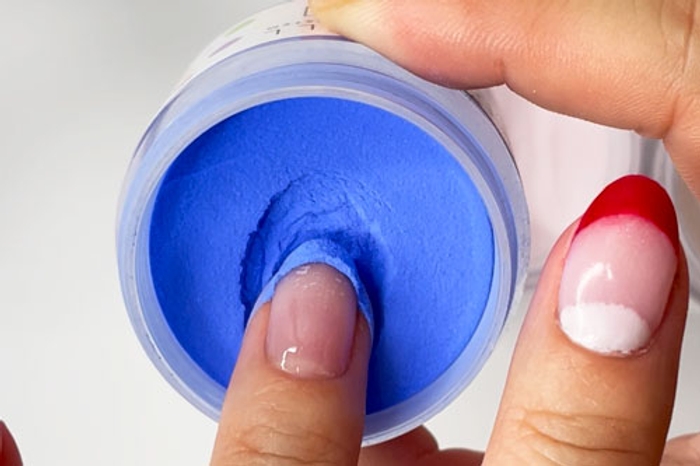

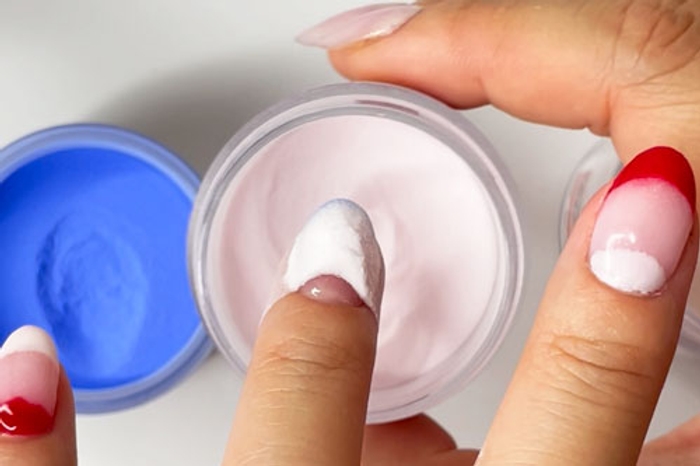
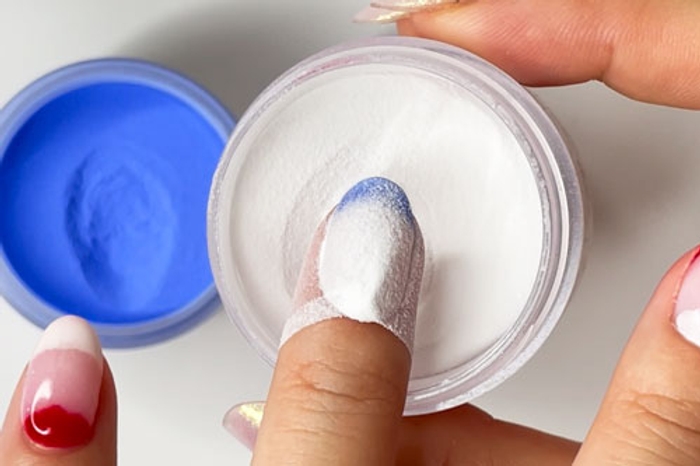
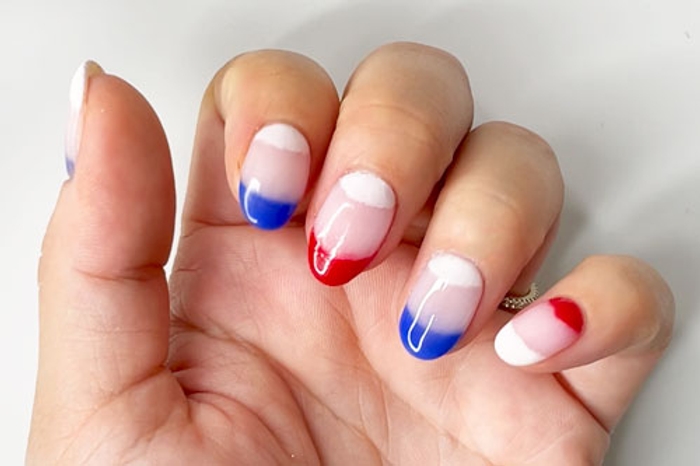
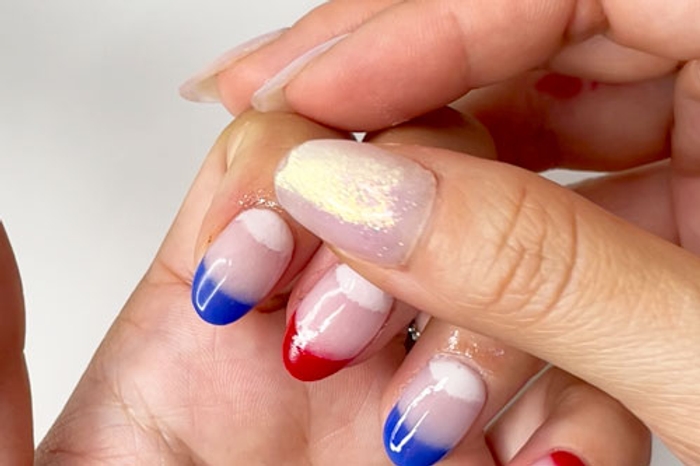
- Immediately dip the nail tip, at an angle, into CL-04 to create a french smile line. Tap finger to remove loose powder.
- Dip the nail, about 3/4ths of the way up, into Natural Pink. Be sure to leave a half-moon shape by the cuticle. Tap finger to remove loose powder.
- Dip the entire nail into French White to cover the remaining half-moon, wet Step 2 Base near the cuticle,
PRO TIP: You can apply it differently on each nail. This is the order we are using on this specific finger, but you can switch it up to your liking.
Get free tutorials every week!
Sign up for fresh nail inspo & exclusive discounts delivered right to your inbox!
By subscribing, you acknowledge our Privacy Policy.
Step 5
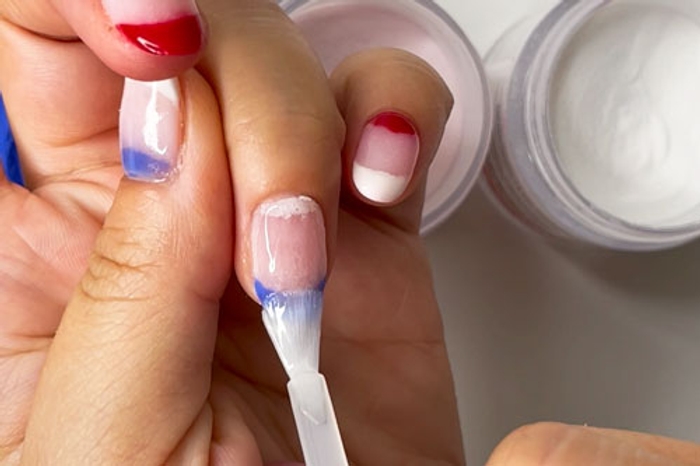

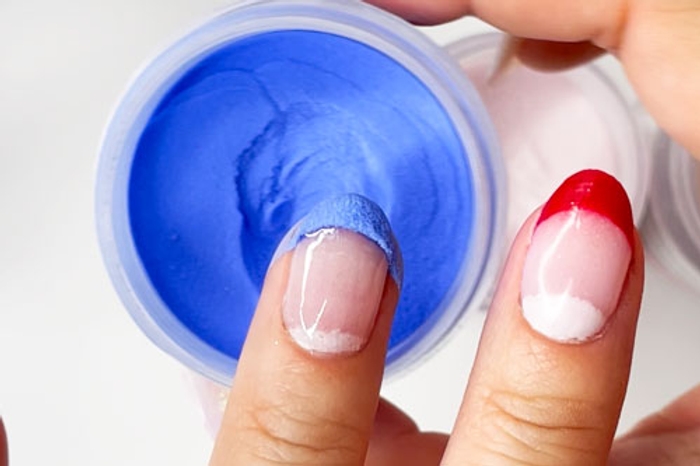

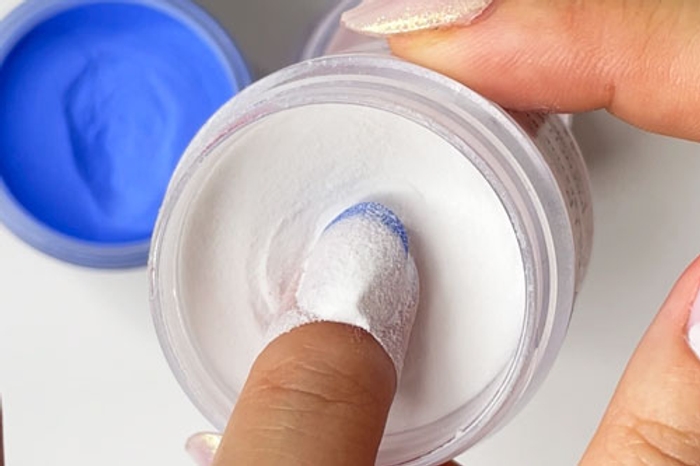
- Repeat for more coverage
PRO TIP: Brushes may harden or pick up color powder during application. Simply switch them between Brush Softener for easy cleaning & workability.
Step 6
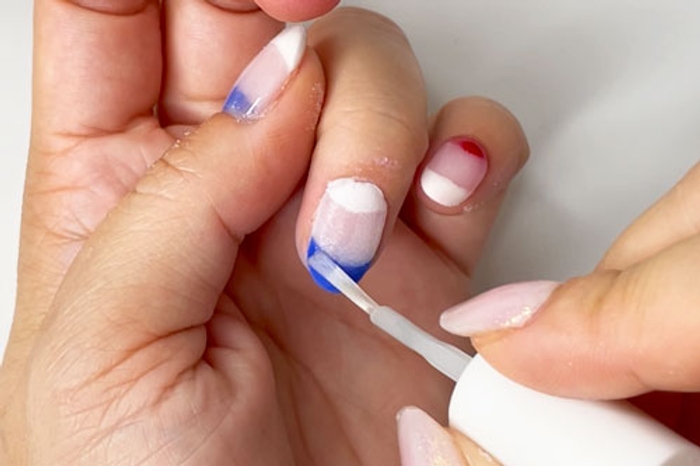
- Apply a coat of Step 3 Activator. Allow 3-5 minutes for nails to harden.
Step 7
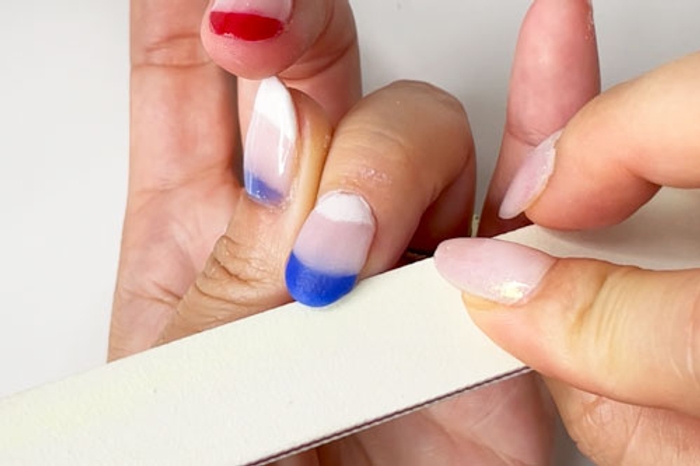

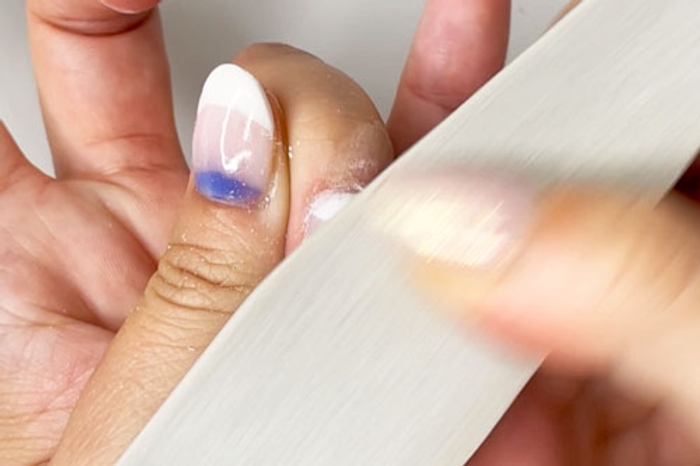
- File and buff nails to achieve the desired shape & smoothness.
Step 8

- Wash hands or use a lint-free wipe saturated in alcohol to wipe the nails clean.
Step 9
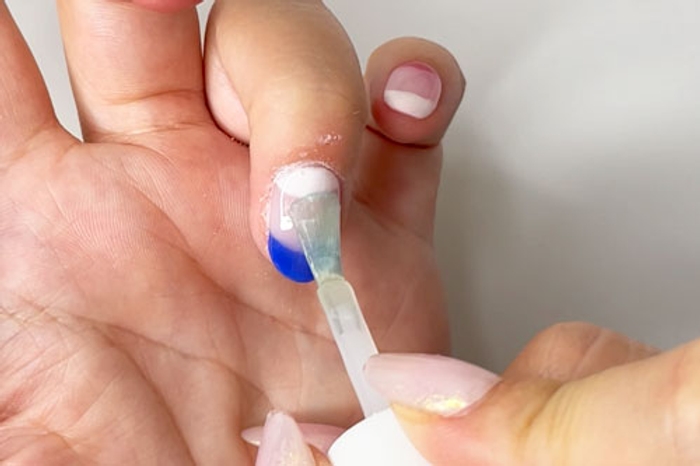
- Apply a thin coat of Step 4 Sealer. Be sure to also apply to the free edge! Allow it to dry for 1-2 minutes.
Step 10
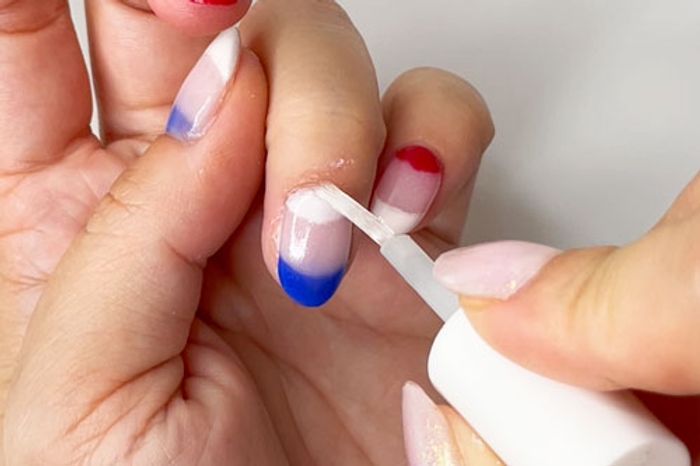
- Apply another coat of Step 3 Activator, and allow it to fully dry for 5 minutes.
PRO TIP: If you live in a humid climate, you may need to increase your dry time.
Step 11
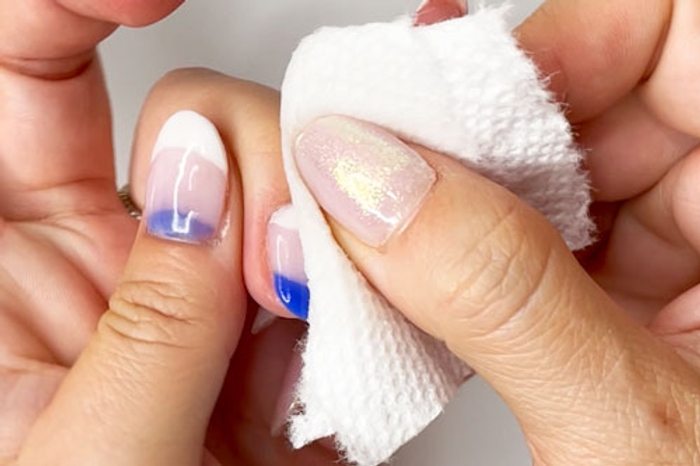
- Clean nails with a dry lint-free wipe to remove any excess activator.
PRO TIP: Make sure nails are completely dry before moving to the next step!
Step 12

- Apply a thin coat of Step 4 Sealer and allow 2-3 minutes for nails to dry.
PRO TIP: In this step, you can also substitute Sealer for Step 2 Base!
Step 13

- Apply a final coat of Step 4 Sealer in thin, quick strokes and allow 2-3 minutes for nails to dry.
PRO TIP: Don't apply more than 2 consecutive coats of Sealer as this will prevent even drying & may result in a gummy mani.
Step 14 (Optional)
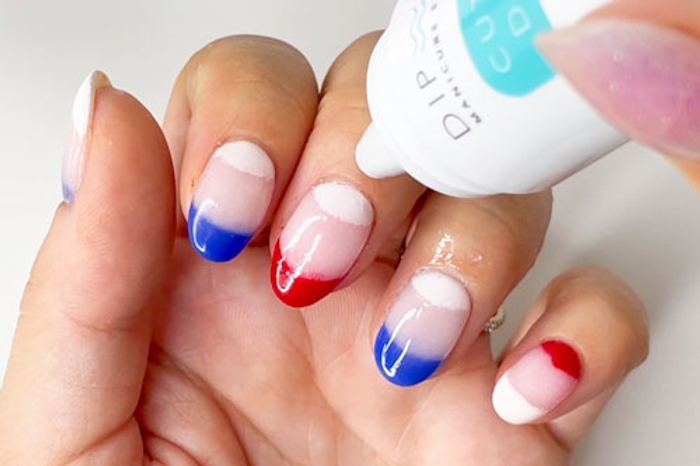

- Complete your manicure by moisturizing with a drop or two of Cuticle Drops.
Finish!

- Red, White, and Blue Nails come to life in this 4th of July-inspired dip nail design. Create a patriotic mani with color-blocking, negative space, and French smile lines!
Get free tutorials, special deals every week!
Sign up for fresh nail inspo & exclusive discounts delivered right to your inbox.
By subscribing, you acknowledge our Privacy Policy.
THE BEST WAY TO START DIPPING
PICK YOUR FAVORITE COLORS AND GET ALL THE LIQUIDS YOU NEED TO CREATE YOUR OWN DIP MANIS THAT LAST 2+ WEEKS WITHOUT CHIPPING! BUILD YOUR OWN BUNDLE HERE!

