There’s nothing worse than experiencing sealer issues (think ripples, cloudy finish, sealer not drying, etc.) after dipping into what should’ve been your best mani yet.
So if you’ve got sealer issues, we’ve got answers! Plus, we’re giving you a complete breakdown of the Reverse Sealer Method (RSM) - your secret weapon for achieving your shiniest nails ever!
The RSM is a game-changing method that not only gives you shinier and smoother dip nails, but it significantly reduces any cross-contamination issues and frustrations you may have. An even bigger bonus? It’s extremely beginner-friendly.
Get free tutorials, special deals every week!
Sign up for fresh nail inspo & exclusive discounts delivered right to your inbox.
By subscribing, you acknowledge our Privacy Policy.
Here’s how it works:
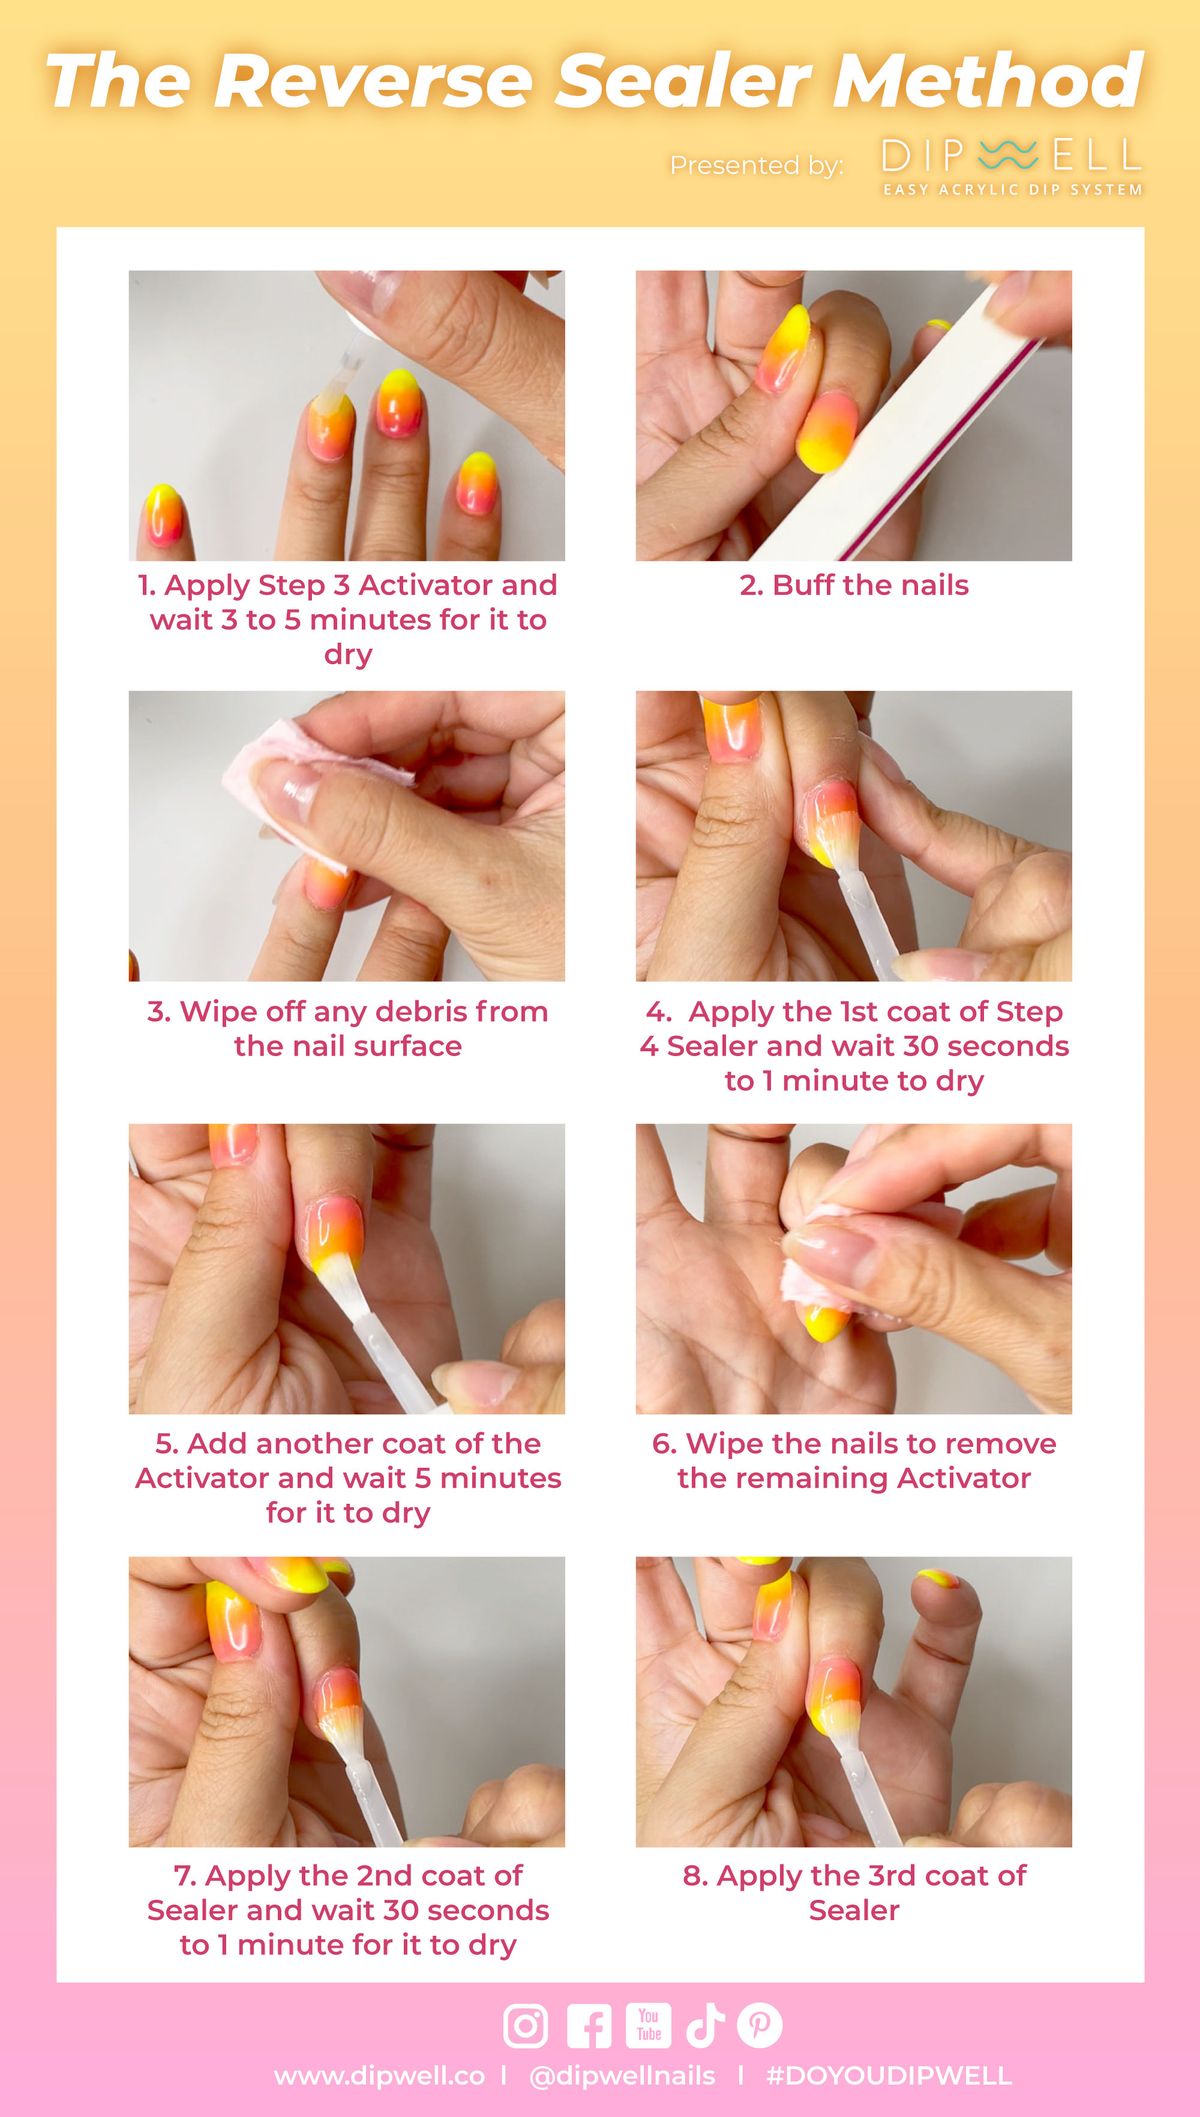
- Apply Step 3 Activator
- Buff the nails
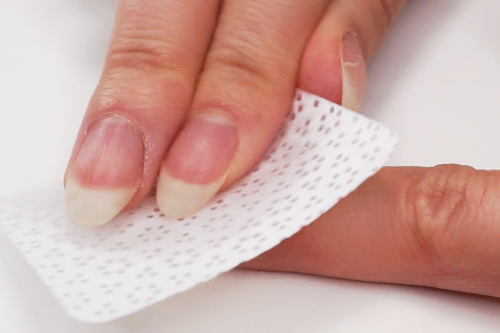
- Wipe off any debris from the nail surface
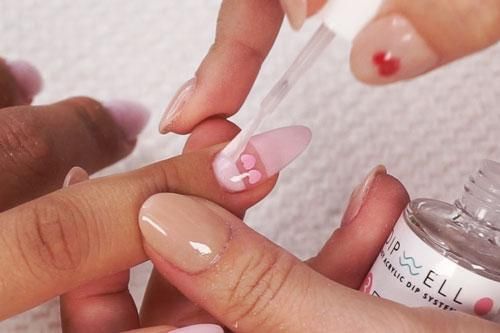
- Apply the first coat of Step 4 Sealer
- Add another coat of the Activator and wait five minutes for it to dry
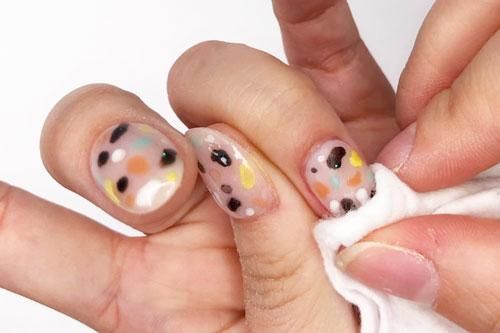
- Wipe the nails to remove the remaining Activator
- Apply the second and third coats of Sealer
If you've had problems with your Sealer, think getting ripples or the liquid not drying quite right, then the Reverse Sealer Method is the solution that will give you consistent, shiny results for sure.
Pro Tip: Don't apply more than two consecutive coats of Sealer to avoid uneven drying and a gummy mani.
We Get It, Change Isn't For Everyone
So if the regular Sealer steps have been working great for you or maybe there’s just a few small sealer issues you want answers to then we’ve totally got you!
The Science Behind the Sealer
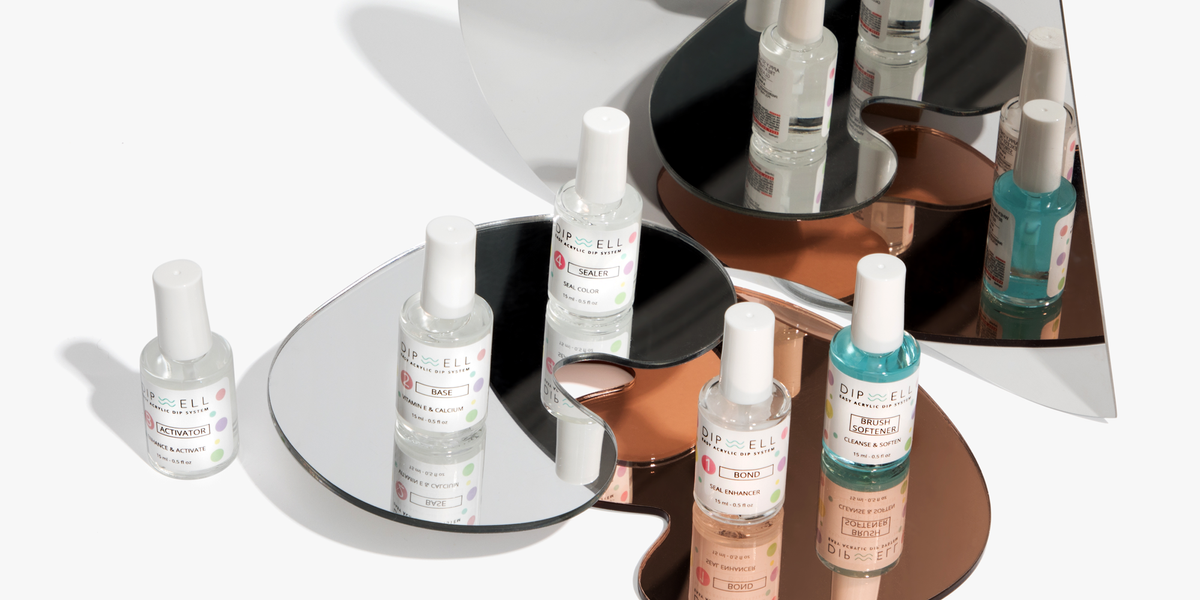
In order for the dip powder top coat for dip nails to do its job well, it needs a sidekick: Step 3. Activator. This dynamic duo works in tandem to cause a chemical reaction that ultimately gives you that shiny finish on your dip mani.
A word of warning: Activator and Sealer are time-dependent of each other, so make sure you give the Activator enough time to dry before applying the Sealer. But don't wait too long. Otherwise, the Sealer won't have anything to react to.
Our recommendations for drying time:
- Activator - allow 3 to 5 minutes for nails to dry
- Sealer - allow 2 to 3 minutes for nails to dry
If the Activator or Sealer isn't fully dry even after 5 minutes, it could be because of the moisture trapped within the layers of dip powder and liquids.
Since these dip liquids are extremely sensitive to temperature and humidity, you may need to play around with the timing a bit to figure out what works best for you. Keep the room temperature between 68º to 72º F and below 40% humidity. Longer drying times may be necessary in humid climates. (For more info, check our guide for The Best Environment For Your Dip Mani.)
The Sealer Solutions
Now you know the 411, let's talk about how to get a shiny mani and keep your top coat in tip-top condition.
1. Prep well before you do the dip
DIP DILEMMA: Splotchy nail surface
SEALER SOLUTION:
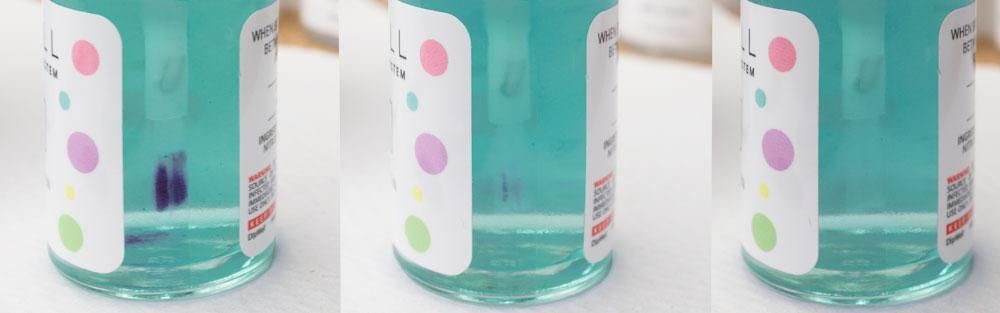
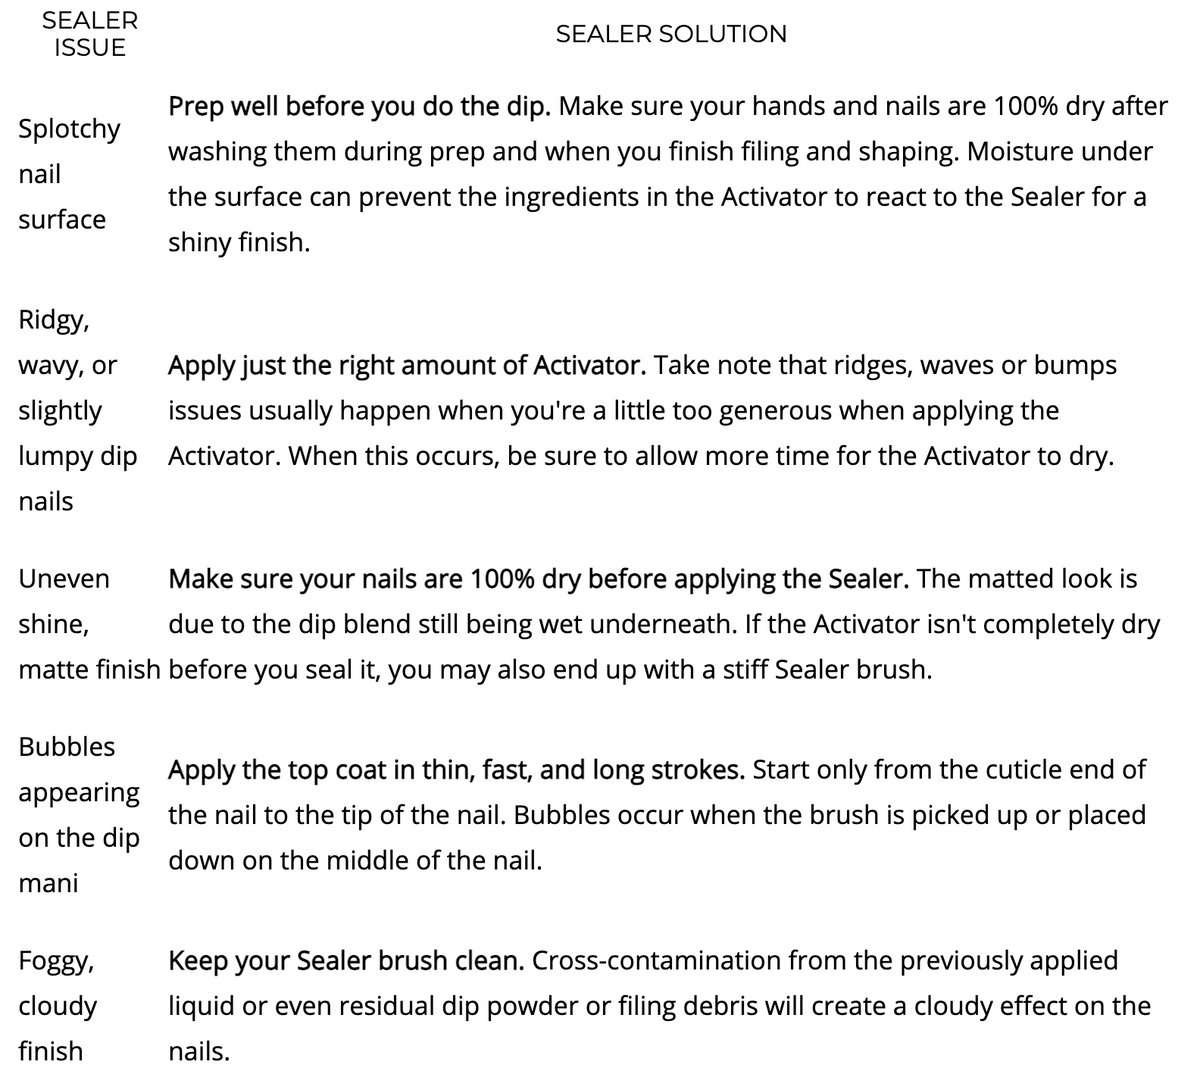
The splotchy white spots occur when the Sealer gets in contact with water. Make sure your hands and nails are 100% dry after washing them during prep and when you finish filing and shaping. Some problems with the Sealer application are due to wet nails that are not completely free of filing debris. (Yup, even residual debris can interfere with your dip mani's shiny finish!)
Sine, Licensed Cosmetologist and DipWell's Community Educator, further explains:
Make sure all DIP steps are completely dry.
Since the dip powder is porous, the nails may be wet beneath the surface and not noticeable to the naked eye. This moisture under the surface can prevent the ingredients in the Activator to react to the Sealer for a shiny finish.
2. Apply just the right amount of Activator
DIP DILEMMA: Ridgy, wavy, or slightly lumpy dip nails
SEALER SOLUTION:
Here's Sine's suggestion:
Be sure to apply enough Activator. The Sealer needs to react with the Activator to fully dry and harden the DIP. If you ever re-do a nail, buff off the top coat and reapply Activator, too.
Take note that ridges, waves, or bumps issues usually happen when you're a little too generous when applying the Activator. When this occurs, be sure to allow more time for the Activator to dry before applying the Sealer. You can also use a lint-free wipe to rub off any excess Activator that may still be on the surface of the nail.
3. Make sure your nails are 100% dry before applying the Sealer
DIP DILEMMA: Uneven shine, matte finish
SEALER SOLUTION:
The matted top coat is due to the dip blend still being wet underneath. You may need to allow extra time for your nails to dry before applying the second coat of Activator. Then allow for it to activate and fully dry as well. Once that's all dry, you may proceed with the Sealer.
If the Activator isn't completely dry before you seal it, you may also end up with a stiff Sealer brush.
Licensed cosmetologist Sine says:
If the Activator was still too wet when the Sealer was applied, the brush will react to the Sealer and start to harden. Wait the full amount of time for the Activator to dry, then wipe your nails off with a lint-free wipe and rubbing alcohol to ensure the nail is dry prior to using the Sealer.
Worst, inserting the brush that has Activator back in the Sealer bottle can cause cross-contamination and may change the top coat consistency.
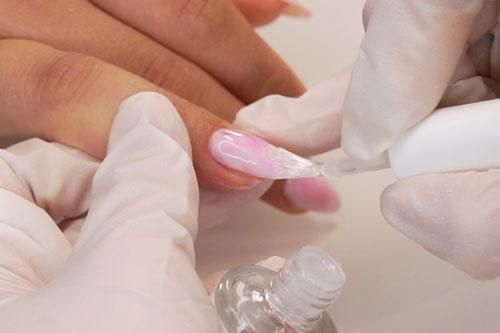
4. Apply the top coat in thin, fast, and long strokes
DIP DILEMMA: Bubbles appearing on the dip mani
SEALER SOLUTION:
Sealer is a strong adhesive. Its thick consistency may trap air if not applied using the right brush technique. If you are experiencing bubbles, this may be a result of applying the Sealer in short, overlapping strokes.
First, use a fluffy brush to dust off any excess powder between layers of dipping.
Next, apply the Sealer starting only from the cuticle end of the nail to the tip of the nail. (Bubbles occur when the brush is picked up or placed down on the middle of the nail.)
Also, be mindful of not trapping any air bubbles as you are moving the brush in and out of the bottle.
Here's Sine's recommendation:
Do not apply the Sealer too thick. The first application can be quick and doesn’t have to reach all parts of the nail. It is best to do quick, thin brushes of Sealer and to not overlap layers.
If the second coat was applied too thick or was over-brushed, you can get weird lines with matte spots. Sometimes quickly wiping your nails with alcohol or acetone can help make them shiny.
5. Keep your Sealer brush clean
DIP DILEMMA: Foggy, cloudy finish
SEALER SOLUTION:
Your Sealer may get cross-contamination from the previously applied liquid or even residual dip powder or filing debris.
Yes, brush contamination takes away your shine!
You can use the brush from the Brush Softener to apply the Sealer instead. But if you used the Brush Softener and didn't wipe it off prior to replacing it in the bottle, it can cause a problem.
DipWell's Community Educator Sine says:
When switching brushes with the Brush Softener, be sure to wipe the brush free of Brush Softener solution before placing its brush into Step 4 Sealer and applying it onto the nails. The Brush Softener may break down the components of Step 4 Sealer and will create a cloudy effect on the nails.
No matter what—do NOT clean the brushes with acetone!
It's also super important to wipe clean the brush before putting it in the Brush Softener so that it has less product to break down. Keep in mind the longer you soak the brushes in the Brush Softener, the better the result. If you use your Brush Softener often and have broken down lots of products over time, then it may be time to replace your Brush Softener.
Let's summarize these common top coat issues that are preventing you from achieving a shiny mani.
Sealer Do's and Don'ts
Share the Sealer love (and this guide) with the dippers in your life
If you haven't already, get to know more dip lovers at DipWell's Dipper Club where they're always sharing their top coat hacks.
And don't forget to share the snapshots of your shiny manis with us on Instagram via @dipwellnails or our official hashtag #DoYouDipWell.
Get free tutorials, special deals every week!
Sign up for fresh nail inspo & exclusive discounts delivered right to your inbox.
By subscribing, you acknowledge our Privacy Policy.