How To Do A Half-Moon Mani
Difficulty
Easy
Time required
45 Minutes
Salon price 
est. $90 / Mani
DipWell price
est. $3 / Mani
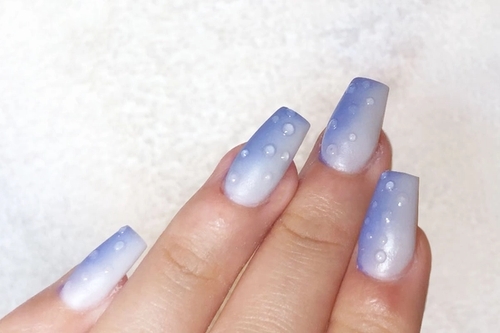
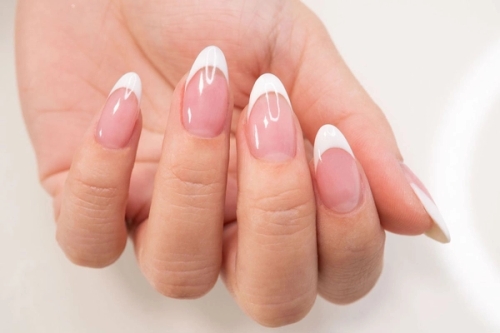
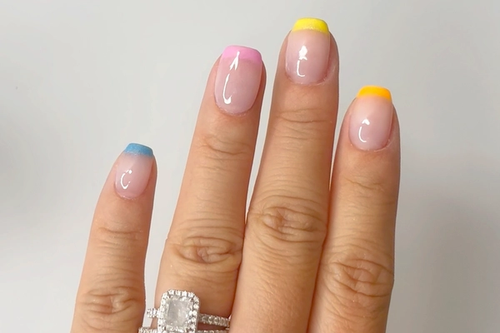
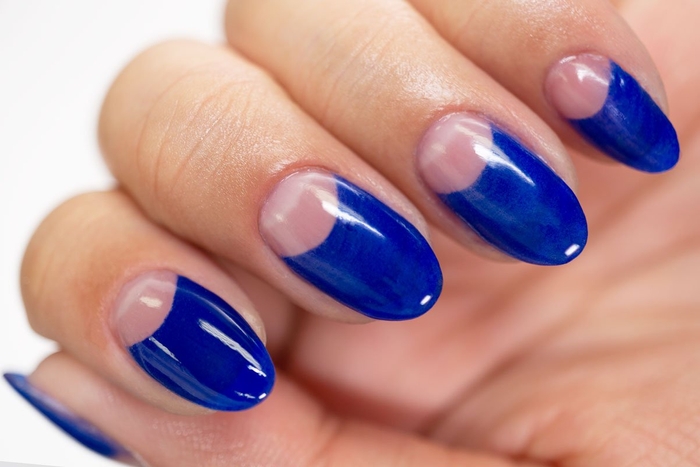
Think French manicure—but reversed. Learn how to create a smile line high up onto the nail plate by dipping.
PRO TIP: For best results, use a dip tray to create this half-moon and negative space nail art. This technique will allow better control near the cuticle line and will help to achieve cleaner lines.
Loading products...
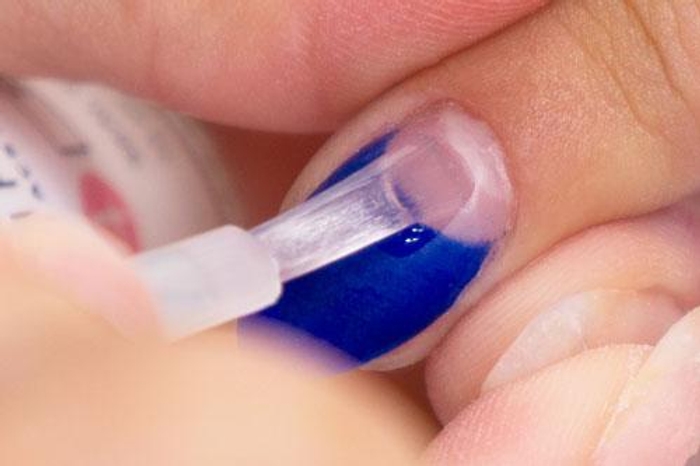
Step 1
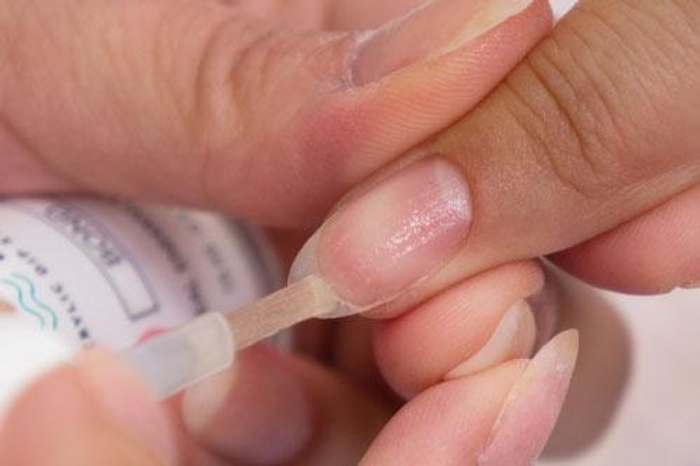
- Apply a coat of Step 1 Bond to all fingernails
Step 2
- Apply a thin coat of Step 2 Base to the entire nail surface, stroking out towards the tip of the nail
PRO TIP: Avoid getting the product onto cuticles, powder will pick up wherever Base if applied
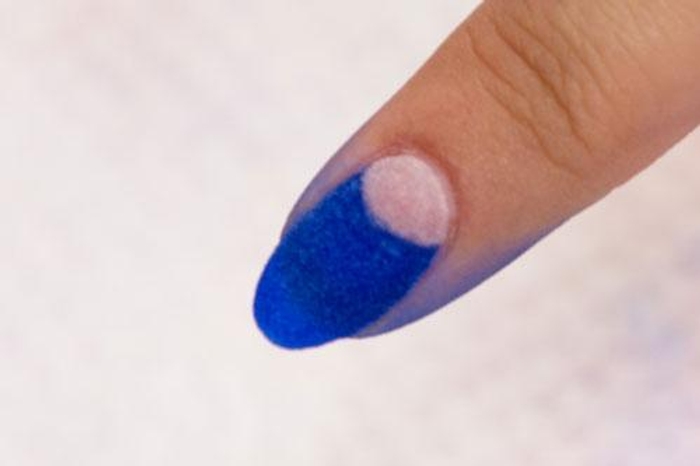
Step 3
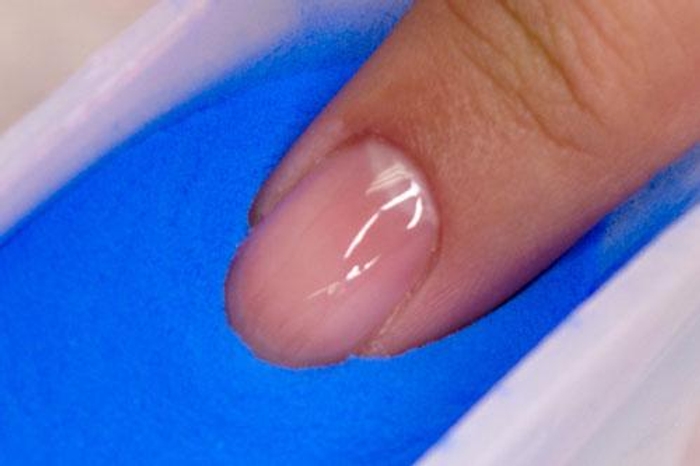
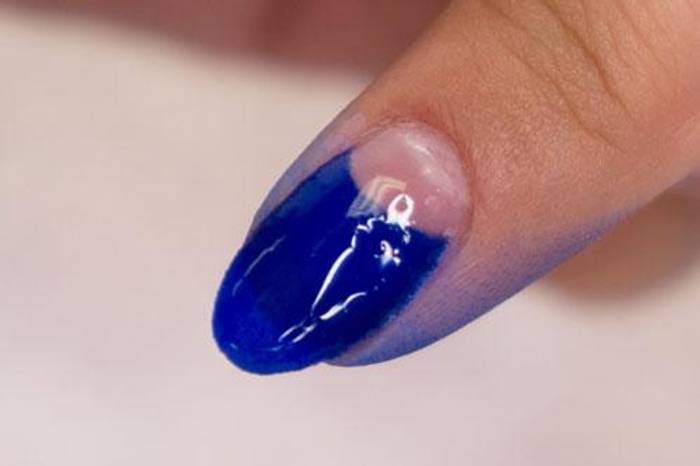
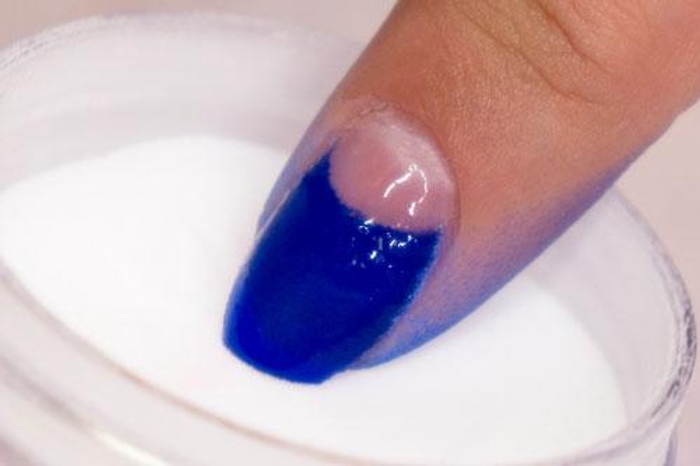
- Quickly dip the nail at a 45-degree angle into the choice of acrylic color powder creating a French tip smile line high up onto the nail plate
Step 4
- Pour over Base & Finish onto the rest of the wet nail plate before Step 2 Base is dry
PRO TIP: Tap gently to rid of any loose color dipping powder & gently swipe with a fluffy brush
Get free tutorials, special deals every week!
Sign up for fresh nail inspo & exclusive discounts delivered right to your inbox.
By subscribing, you acknowledge our Privacy Policy.
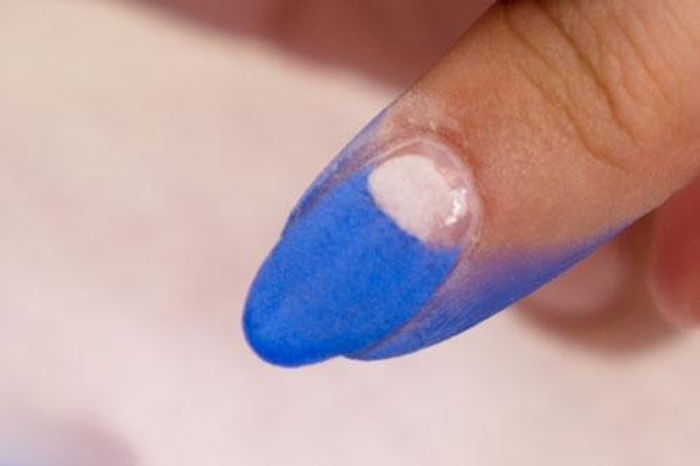
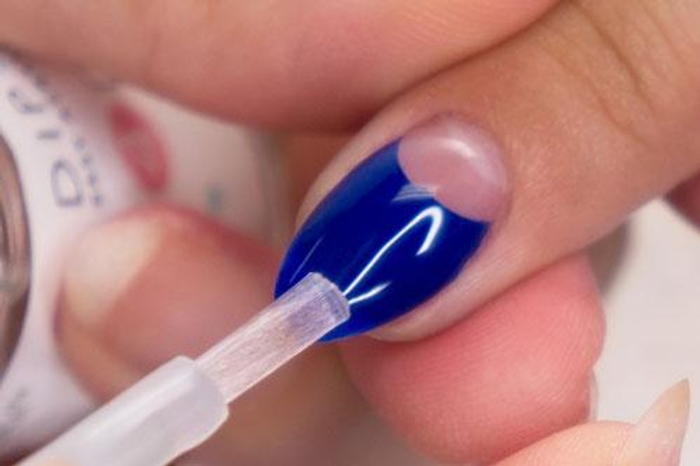
Step 5

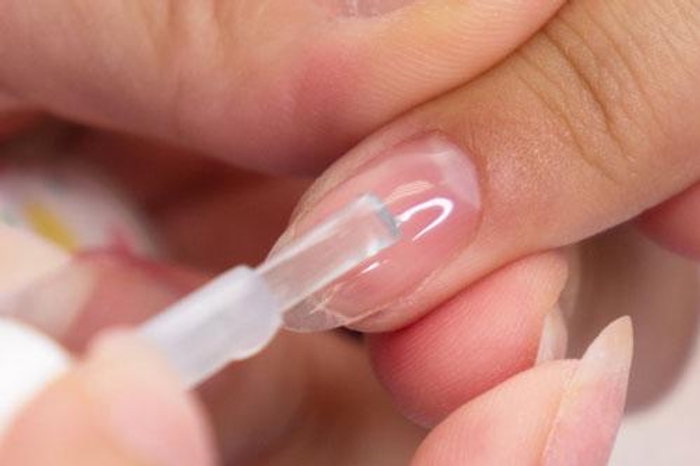
- Apply another thin coat of Base to the entire nail surface
PRO TIP: Avoid getting the product onto cuticles, powder will pick up wherever Base if applied
Step 6
- Quickly dip the nail at a 45-degree angle into the choice of acrylic color powder creating a French tip smile line high up onto the nail plate
Step 7
- Pour over Base & Finish onto the rest of the wet nail plate before Step 2 Base is dry
- Tap gently to rid of any loose color dipping powder & gently swipe with a fluffy brush
Step 8
- Apply another thin coat of Step 2 Base to the entire nail surface
PRO TIP: Avoid getting the product onto cuticles, powder will pick up wherever Base if applied
Step 9
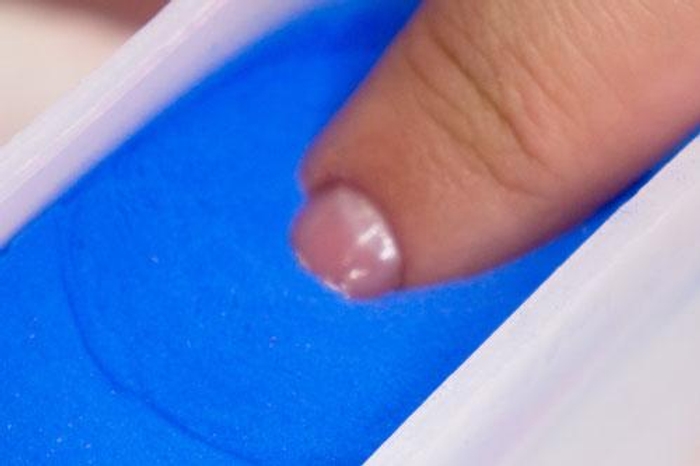
- Quickly dip the entire nail surface into Base & Finish Essential Acrylic Powder, sealing all layers of powder
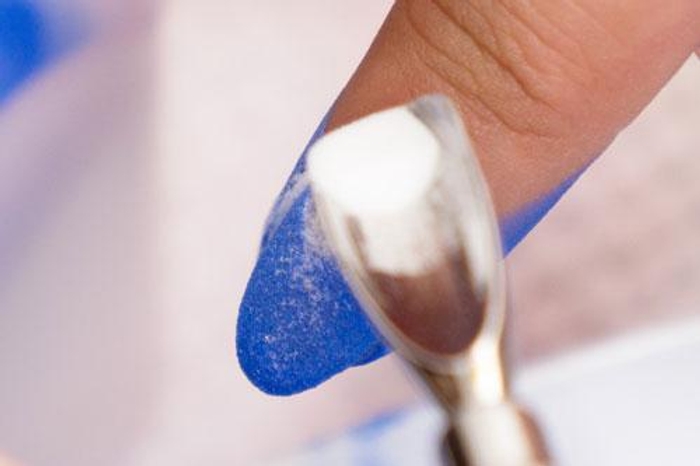
- Hold finger straight down & use a clean brush to lightly remove excess powder from around the nail plate & nail surface
Step 10
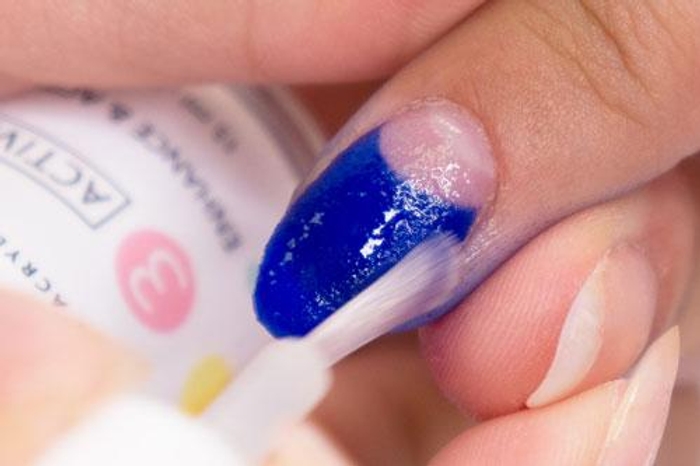
- Apply a coat of Activator to harden the blend of powder & liquid
- Allow 3-5 minutes for Activator to dry completely
Step 11
- Use a our coarse grit buffer to even out the preferred thickness of the nails, then use the 240 grit buffer to smooth the nail surface
- Apply another coat of Activator and allow 3-4 minutes for Activator to completely dry
Step 12
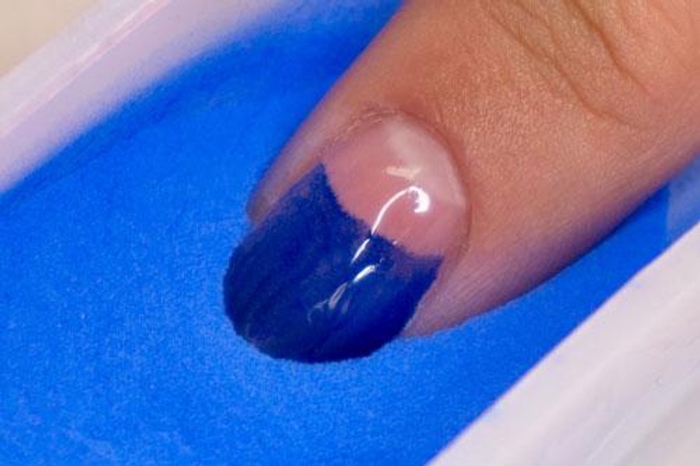
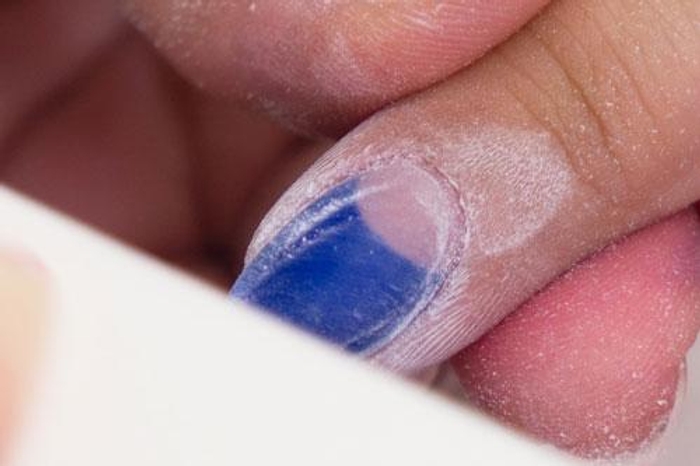
- Apply a coat of Sealer in quick thin strokes
- Allow 3 minutes for nails to dry
Step 13
- Apply a coat of Sealer in quick thin strokes
- Allow 3 minutes for nails to dry
Get free tutorials, special deals every week!
Sign up for fresh nail inspo & exclusive discounts delivered right to your inbox.
By subscribing, you acknowledge our Privacy Policy.