How To Create A Pastel French Mani With Gold Accent

Difficulty
Moderate
Time required
1 Hour
Salon price 

Est. $100 / Mani
DipWell price 

Est. $8.50 / Mani
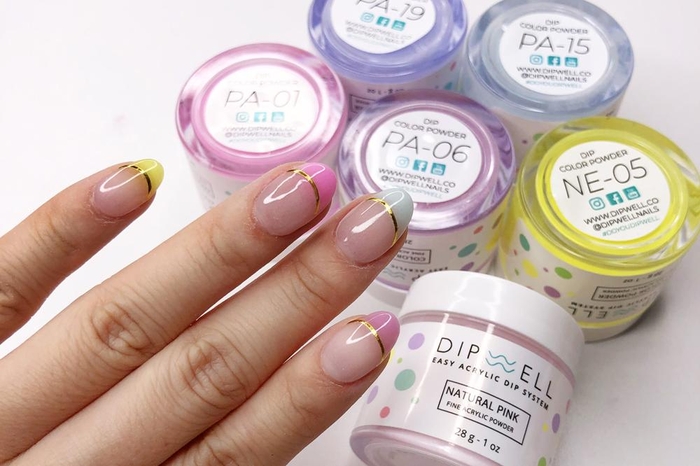
Metallic nail stickers complete this look by adding just the right amount of glam! You can find nail decals at your local beauty store or on Amazon. Play around with different nail accents to jazz up your mani with!
Step 1
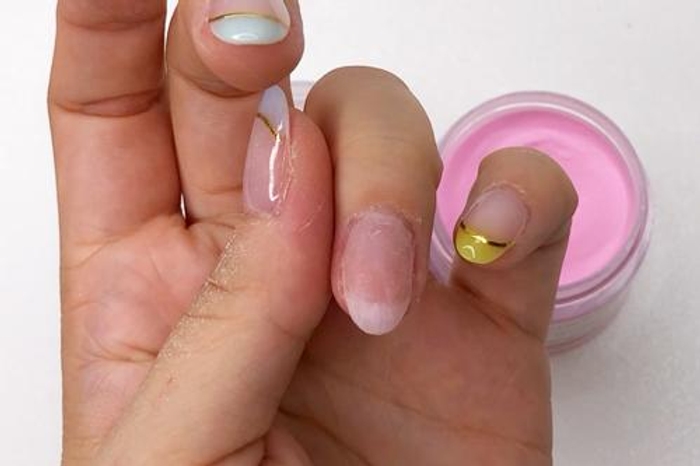
- Apply a thin coat of Step 1 Bond. Allow it to dry completely.
Step 2
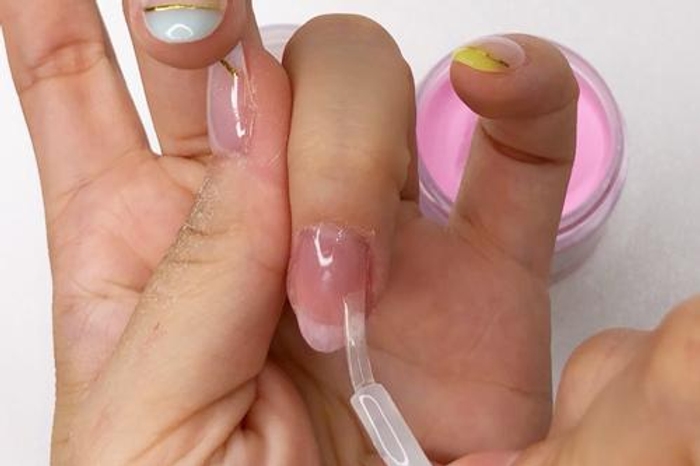

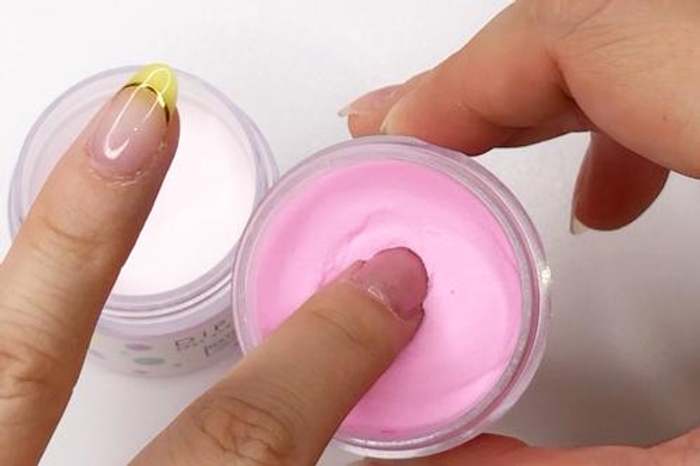
- Paint a thin coat of Step 2 Base and immediately dip tip of finger at an angle into color powder of choice.
- Here we used PA-01 to create the French smile line.
PRO TIP: You don't have to use the same colors we did! Use whatever color you like.
Step 3
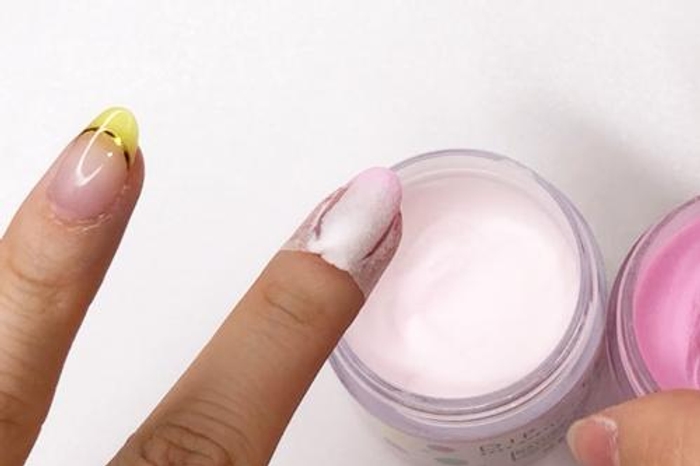
- Tap finger to get rid of loose powder and then dip immediately into Natural Pink. Work quickly before Base dries.
PRO TIP: Avoid getting the product onto cuticles, powder will pick up wherever Base is applied.
Step 4
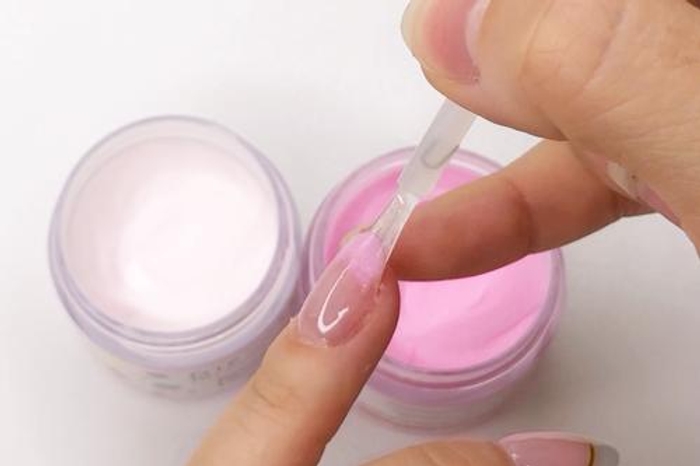

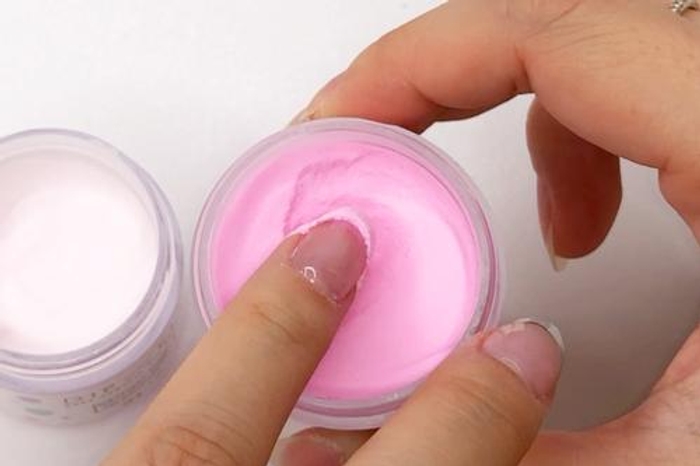
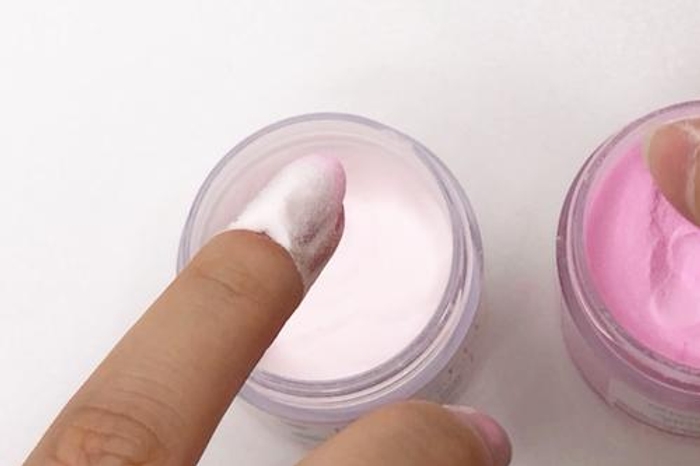
- Repeat for more coverage and until desired thickness.
PRO TIP: Brushes may harden or pick up color powder during application. Simply switch them between Brush Softener for easy cleaning & workability.
Get free tutorials, special deals every week!
Sign up for fresh nail inspo & exclusive discounts delivered right to your inbox.
By subscribing, you acknowledge our Privacy Policy.
Step 5
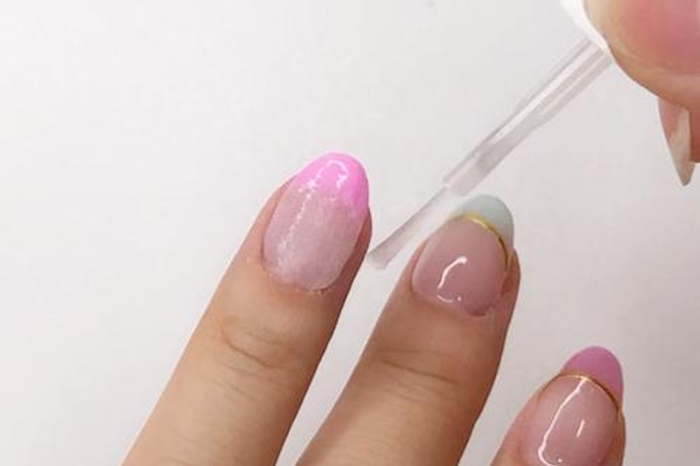

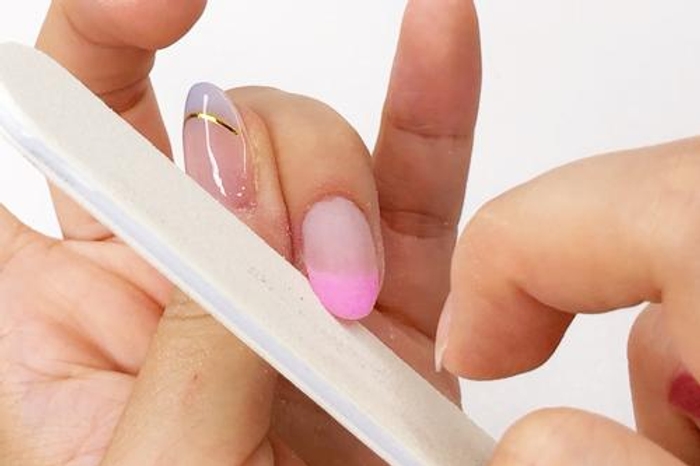
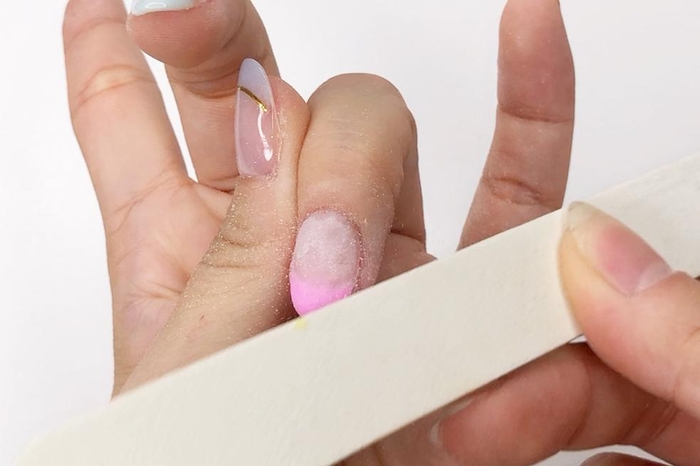
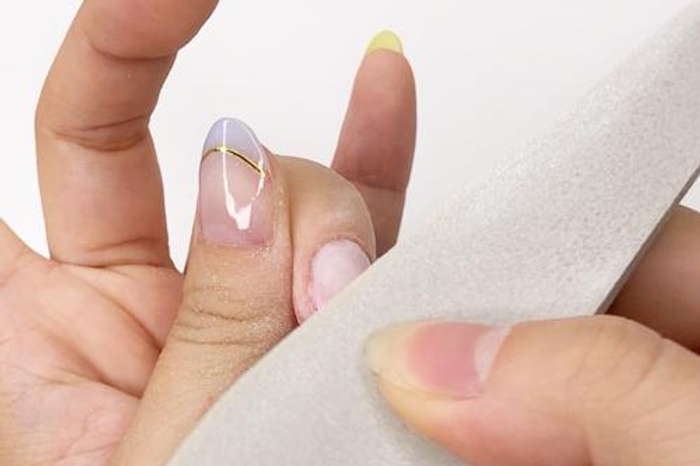
- Apply Step 3 Activator and allow a few minutes for powder to harden.
- Buff and shape nails to create a smooth surface.
PRO TIP: Make sure you thoroughly wipe off any excess nail powder after buffing!
Step 6
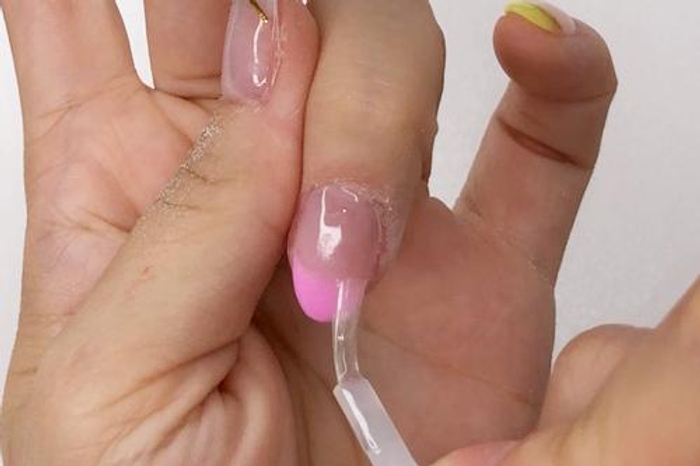

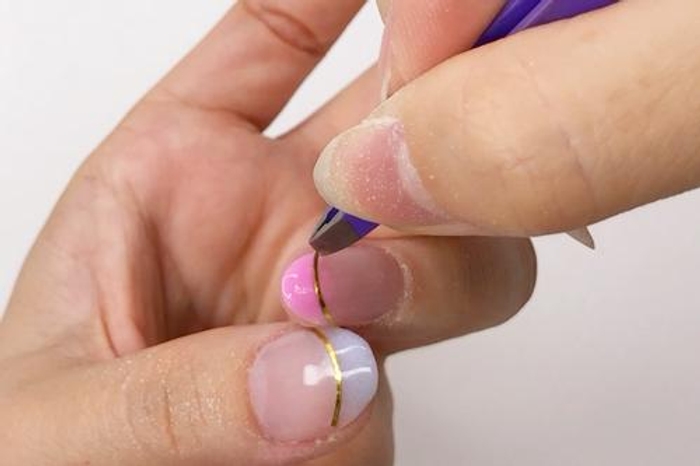
- Paint a thin coat of Step 2 Base over the entire nail and position gold nail art along French smile line.
Step 7
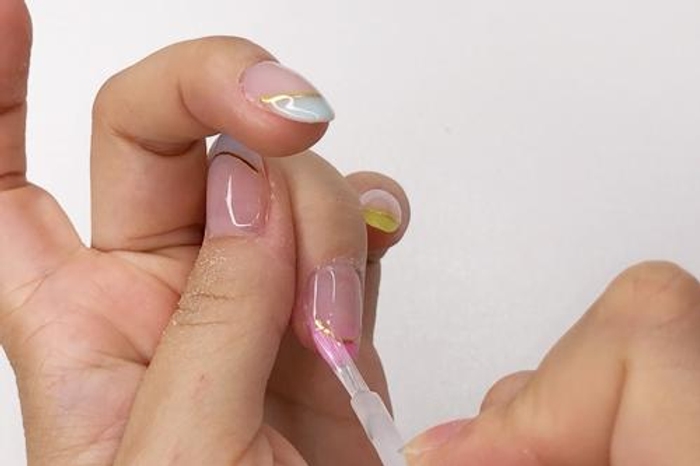
- Apply Step 2 Base and allow to dry.
Step 8
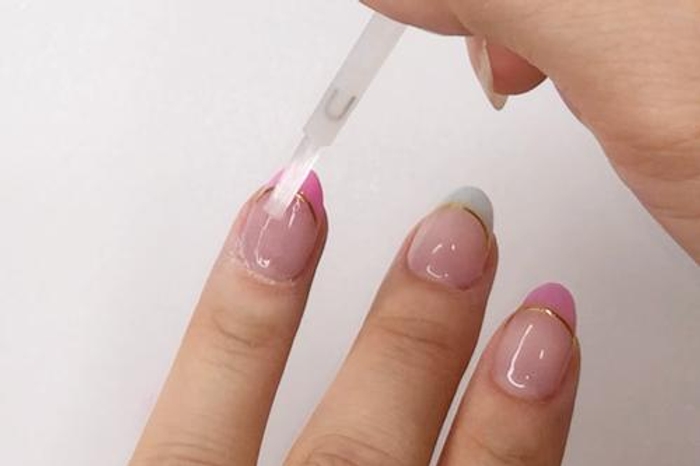
- Apply Step 3 Activator and allow a few minutes for powder to harden.
Step 9
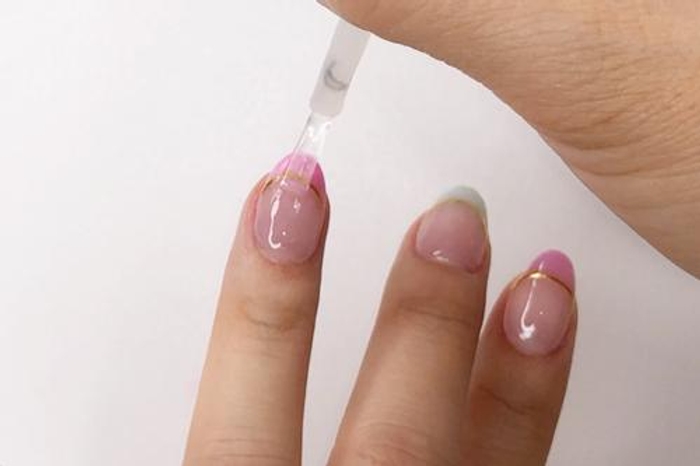
- Paint a coat of Step 4 Sealer and allow 2-3 minutes for nails to dry.
Step 10
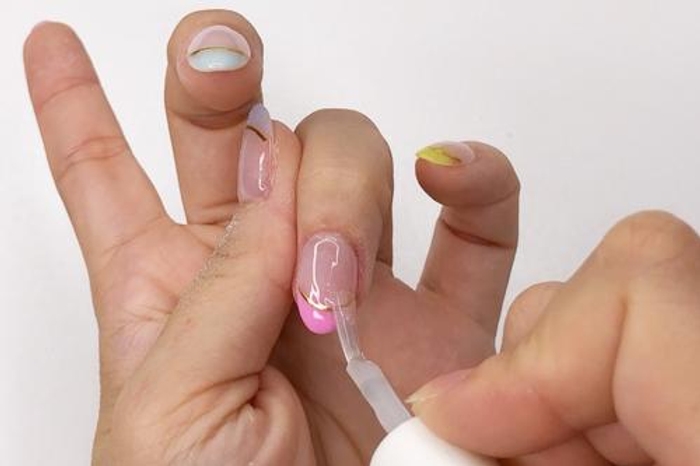
- Paint a second coat of Step 4 Sealer and allow 3-5 minutes for nails to dry.
PRO TIP: Don't apply more than 2 coats of Sealer as this will prevent even drying & may result in a gummy mani.
Finish!
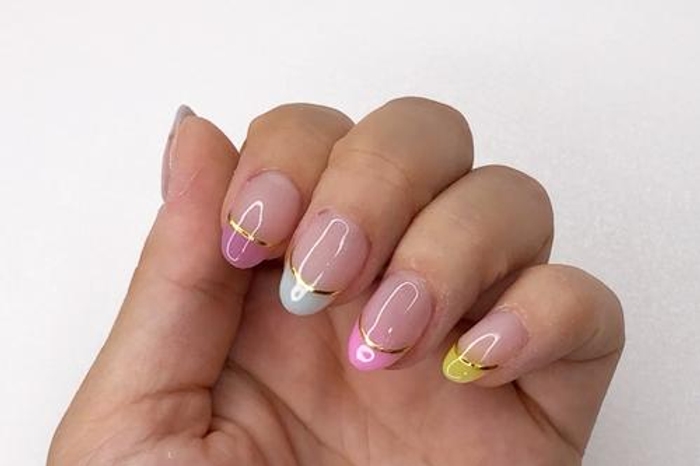


- This classy & colorful mani is a great way to try out multiple colors at once. Play around with different nail stickers to see what speaks to you!
Get free tutorials, special deals every week!
Sign up for fresh nail inspo & exclusive discounts delivered right to your inbox.
By subscribing, you acknowledge our Privacy Policy.
Your Next Step
The Best Way to Start Dipping
Pick your favorite colors and get all the liquids you need to create your own dip manis that last 2+ weeks without chipping! Build Your Own Bundle here.

