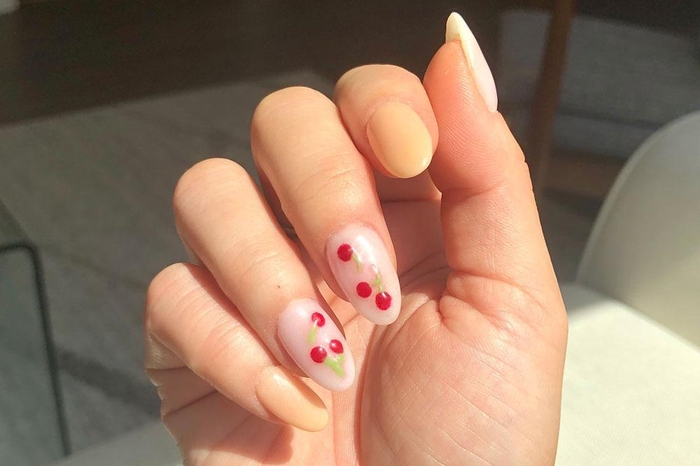
How To Create Cherry Bomb Nail Art Using Dip Powder

Difficulty
Difficult
Time required
Est. 1 Hour
Salon price 
Est. $66
DipWell price
Est. $5
You can still achieve this look with the orange stick in our Buffer Set, but if you don't have the steadiest hands, a ball-ended stylus like this set can help create perfectly circular cherries!
Step 1
- Apply a thin coat of Step 1 Bond. Allow it to dry completely.
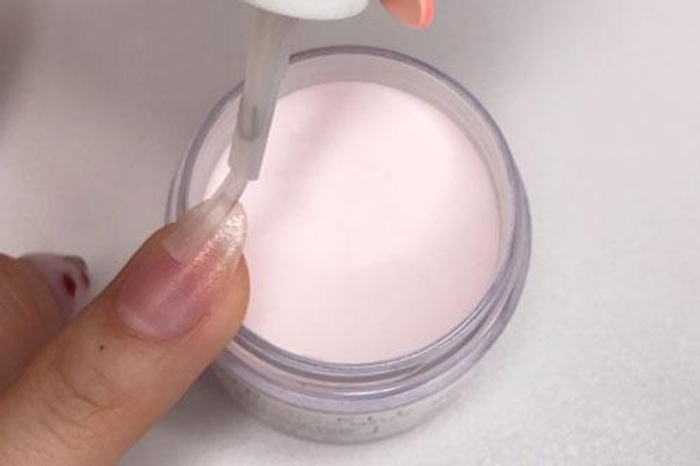
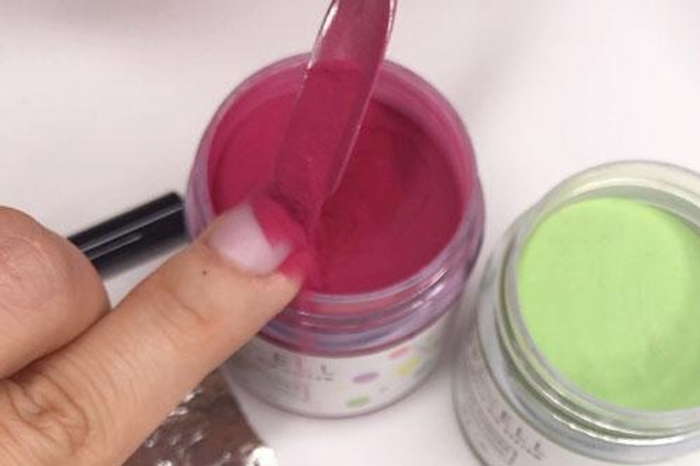
Step 2
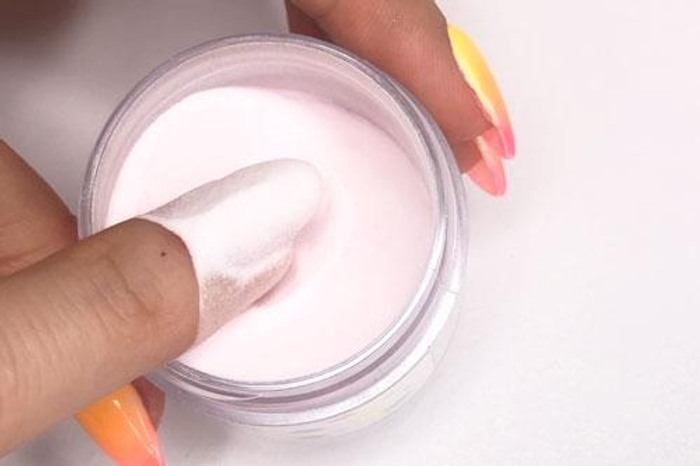
- Paint a thin coat of Step 2 Base and immediately dip finger into Natural Pink. Tap to remove loose powder and use a fluffy brush to sweep away any excess.
- Repeat for additional coverage.
PRO TIP: Avoid getting the product onto cuticles, powder will pick up wherever Base if applied.
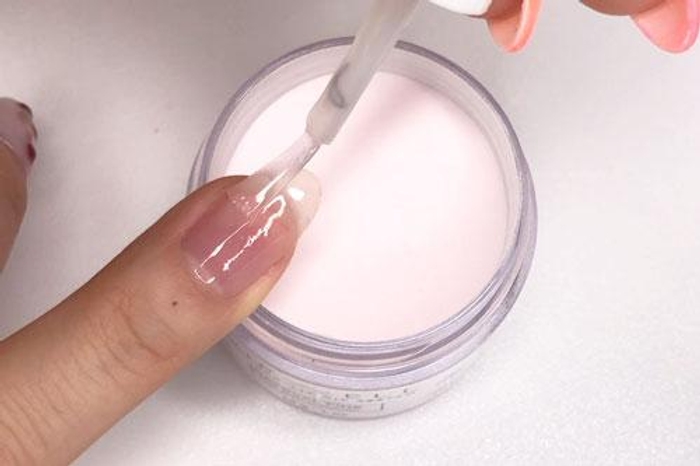
Step 3
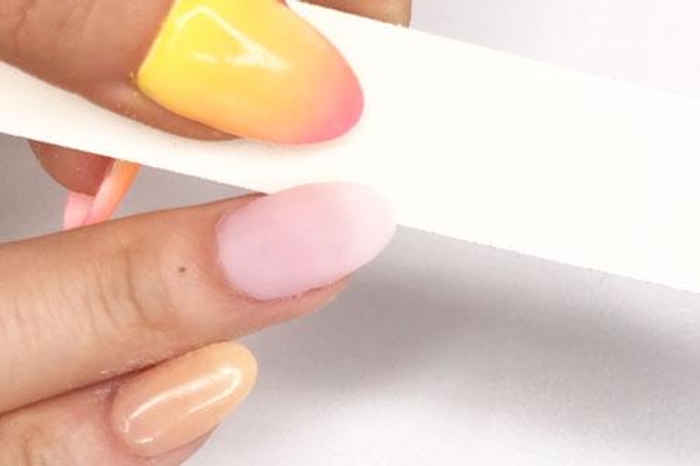
- Paint a thin layer of Step 3 Activator over the entire nail & let dry to prevent nail art colors from bleeding.
- Allow 3-5 minutes for nails to harden.
- Then buff & shape nails to your desired finish.
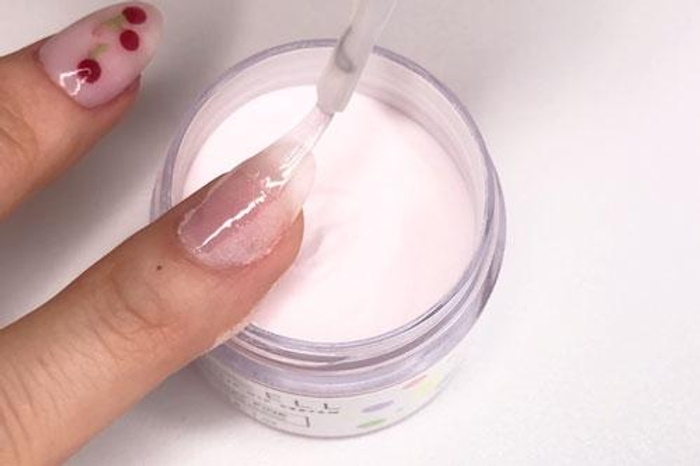
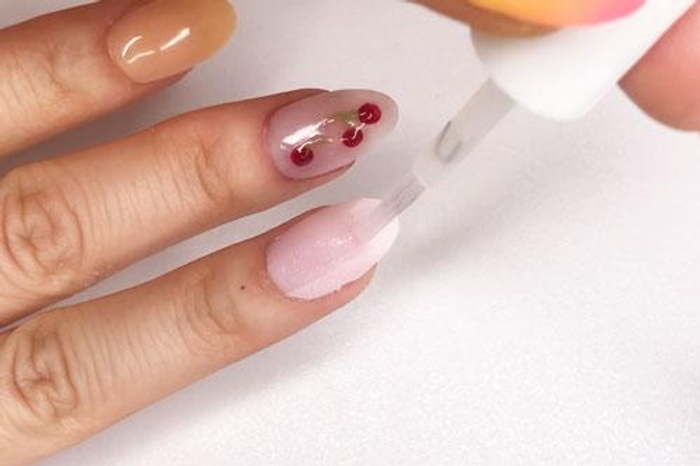
Step 4
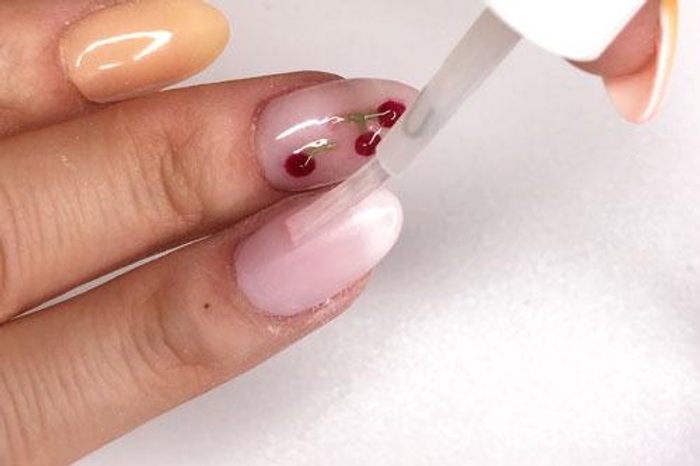
- Paint a thin layer of Step 3 Activator over entire nail.
PRO TIP: Activating this layer of dip will prevent the red from the cherries to bleed and soak into the background color!
Get free tutorials, special deals every week!
Sign up for fresh nail inspo & exclusive discounts delivered right to your inbox.
By subscribing, you acknowledge our Privacy Policy.
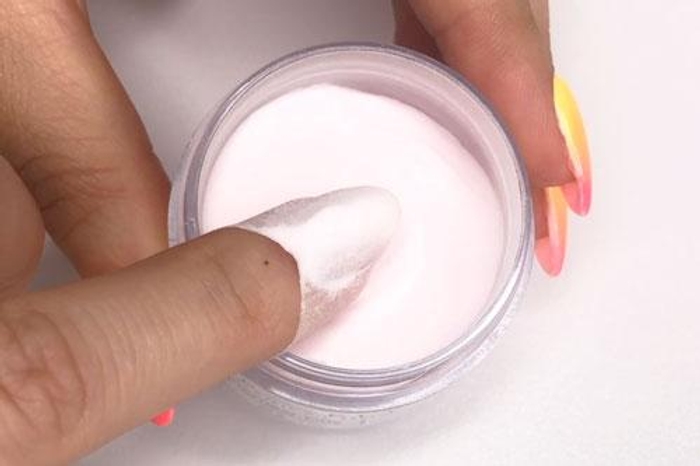
Step 5

- Gather your color powders and tools so they are ready when you need them. You will need an orange stick & stylus for this look.
- Dab a bit of Step 2 Base onto foil.
Step 6


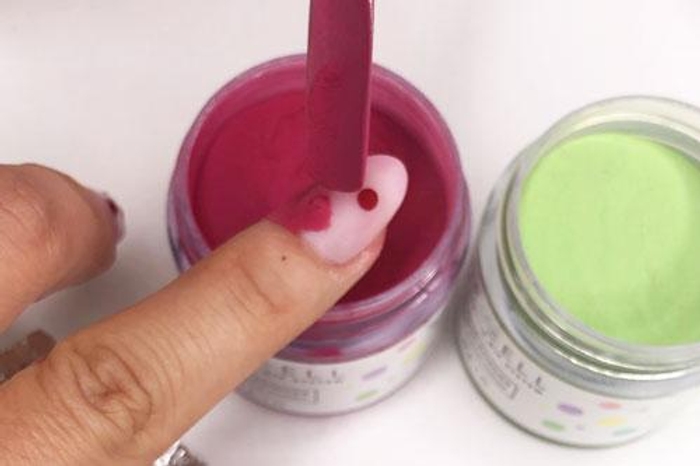
- Use a stylus to dot Base onto nail, then gently pour CL-09 over the nail
- Tap to remove excess powder.
- Repeat to create more cherries.
PRO TIP: Be very gentle pouring acrylic dip powder over nail art as it can disrupt the design!
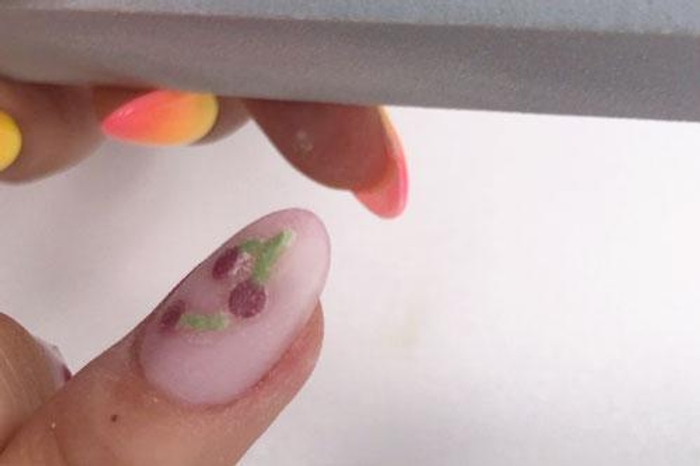
Step 7
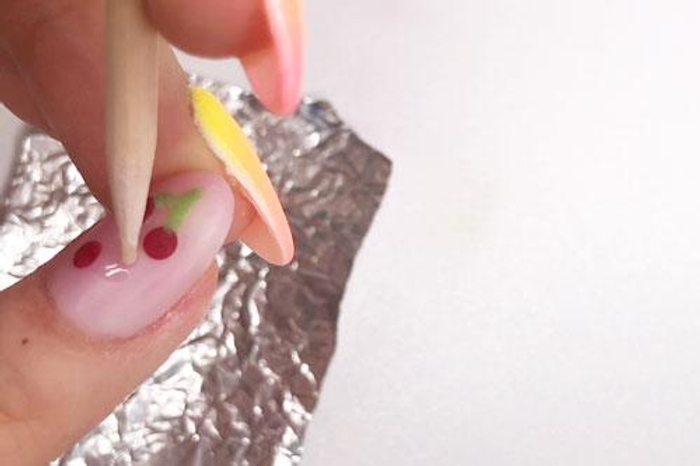

- Use an orangewood stick to draw cherry stems. Pour CL-02 over nail and tap to remove excess powder.
- Add a second layer for more coverage. Repeat for additional stems.
PRO TIP: Work quickly to prevent Step 2 Base from drying out.
Step 8
- Apply Step 3 Activator, allow 3-5 minutes for nails to harden.
- Then buff & shape nails to your desired finish.
Step 9
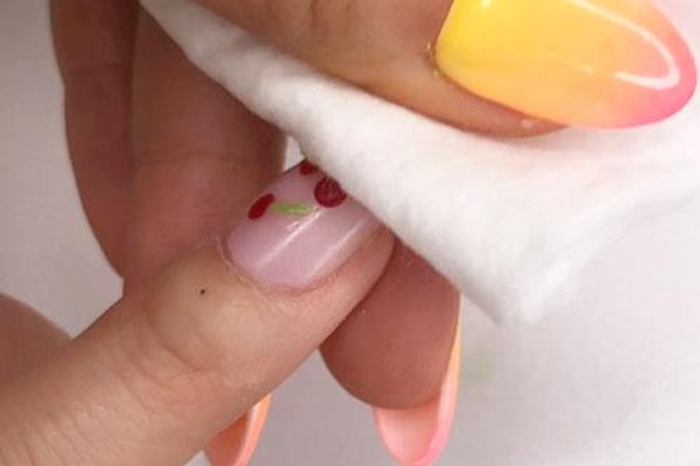
- Wash hands or use a lint free wipe saturated in alcohol to wipe the nails clean.
PRO TIP: Make sure nails are completely dry before moving to the next step!
Step 10

- Apply a second coat of Step 3 Activator.
- Allow 3-5 minutes for nails to harden.
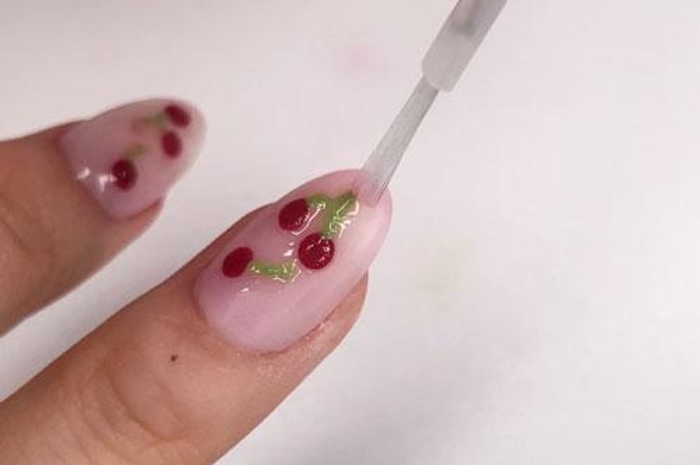
Step 11

- Paint a coat of Step 4 Sealer and allow 2-3 minutes for nails to dry.
PRO TIP: Brushes may harden or pick up color powder during application. Simply switch them between Brush Softener for easy cleaning & workability.
Step 12

- Paint a coat of Step 4 Sealer and allow 2-3 minutes for nails to dry.
PRO TIP: Don't apply more than 2 coats of Sealer as this will prevent even drying & may result in a gummy mani.
Finish!
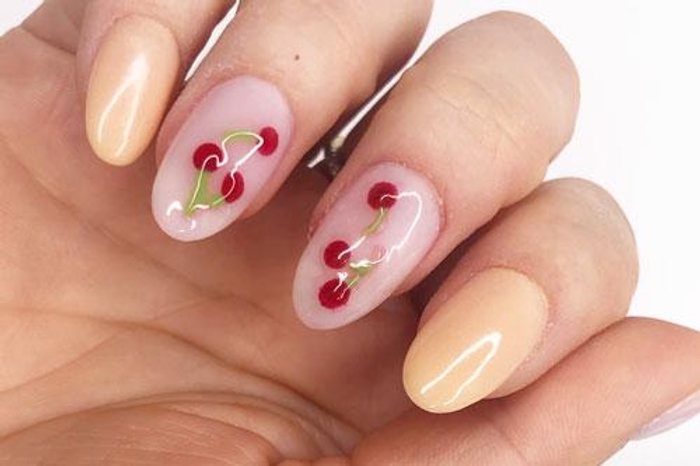
- Enjoy this bomb mani until the end of summer! (although we totally get it if you want to rock this mani all year long)
Get free tutorials, special deals every week!
Sign up for fresh nail inspo & exclusive discounts delivered right to your inbox.
By subscribing, you acknowledge our Privacy Policy.