A singer-songwriter once said, "Sometimes the beauty is easy. Sometimes you don't have to try at all."
Alas, in the world of dipping, the learning curve is inevitable—especially when you're a dip mani newbie.
Noob or not, here are the most common dip nails dilemmas you may run into (and how to solve for them).
How to keep dip powder nails from lifting
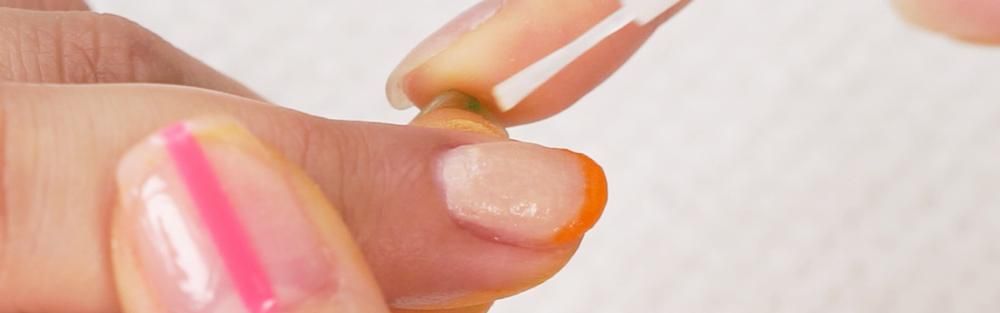
Nothing can put a damper on your day like pretty powder dip nails lifting. The solution that'll keep your spirits up? Keep your dip mani adhering to your nails by becoming a prepping pro.
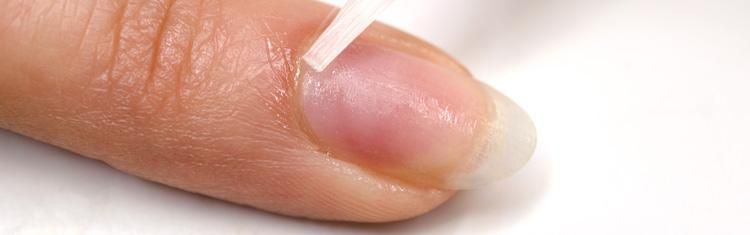
DIP MANI REMEDY: Proper prepping matters. Before you get excited trying on new dip nail designs—ooh, too many eye-catching options!—pay close attention to your cuticles and your nail bed. Your pre-manicure mission is to make sure you have pushed-back cuticles and an oil-free nail surface. There shouldn't be any gap or gunk between your dip powder products and your nails. Do this and... boom! Premature lifting thwarted.
Read this to get your shiniest nails yet with the Reverse Sealer Method (RSM).
How to make dip nails shiny
If your dip powder nails are looking rather dull instead of dazzling, this how-to is for you. Let's transform your manicure from blah to brilliant in no time.
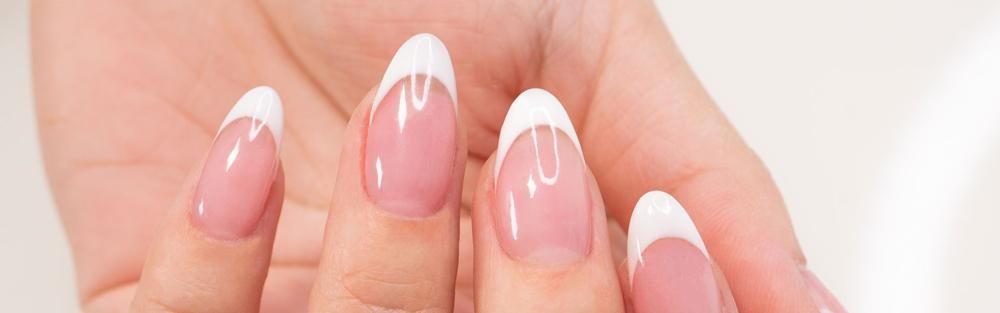
DIP MANI REMEDY: Dazzling dip nails can't be rushed. You gotta allow for the recommended wait times in between coats to ensure thorough blending, hardening, and drying. If you pile on layers while they're still wet, it could result in foggy, matte-looking nails. That luscious luster you're looking for? It's mostly all about timing.
Read this for the wait times recommended for some get-out-your-sunglasses super shiny dip mani.
How to prevent bumpy, thick dip powder nails
Unless you're going for the "bubble nails" or the "hump nails" look, you most likely would rather keep your dip mani bump-free and not-so-thick. Us, too!
Get free tutorials, special deals every week!
Sign up for fresh nail inspo & exclusive discounts delivered right to your inbox.
By subscribing, you acknowledge our Privacy Policy.
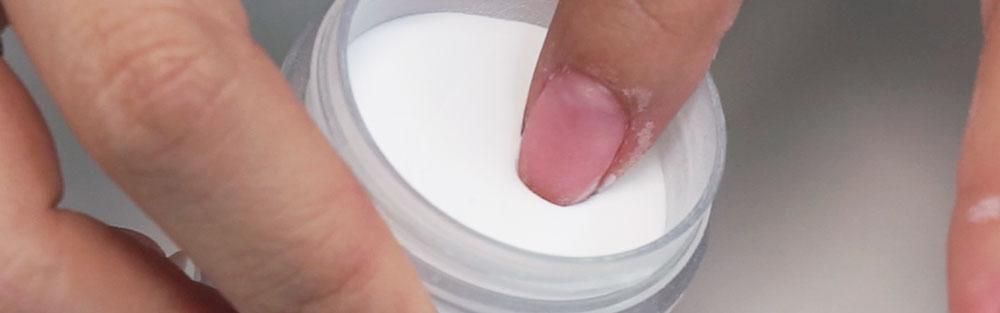
DIP MANI REMEDY: You want to have a jar of fine, smooth powder before you dip your nails in it. Old, clumpy powder is a surefire way to end up with bumpy and thick dip nails. Loosen the dip powder by shaking or stirring. You can also simply apply a thin layer of the Step 2 Dip Nail Liquid as the base layer. Then use the Base & Finish Dip Nail Powder as the top layer only. Finally, buff your dip nails down to perfection.
Read this for more information on how to achieve your preferred thickness.
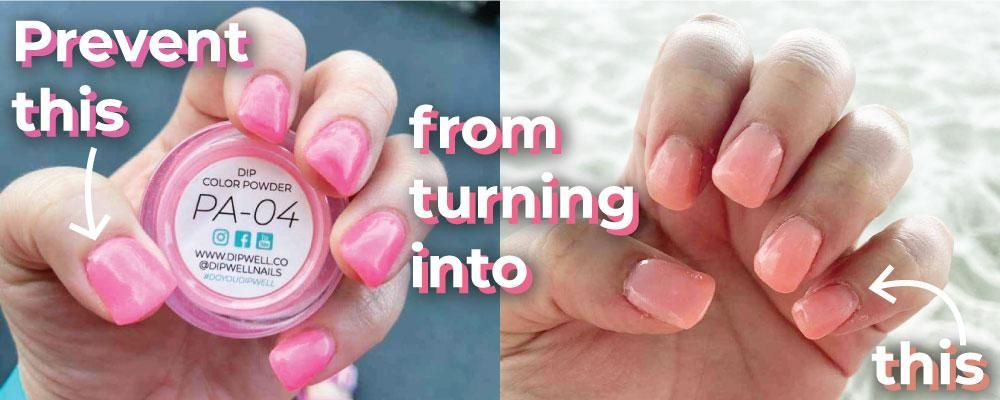
How to avoid dip manicure discoloration or fading
Is discolored or faded mani taking the smile off your fabulous face? We'd be sad, too. Let's bring that smile back with our top tips on preventing your dip mani from changing colors.
DIP MANI REMEDY: Avoid coming into contact with products with problematic formulas—from your daily sunblock to your household cleaners. You can double down on protecting your nails from chemical interference by NOT skipping Step 4 Dip Nail Liquid (the protective sealer) or by wearing gloves if necessary.
Read this to get to know the common culprits affecting the color of your dip powder manicure.
How to stop your dip nails from chipping or cracking
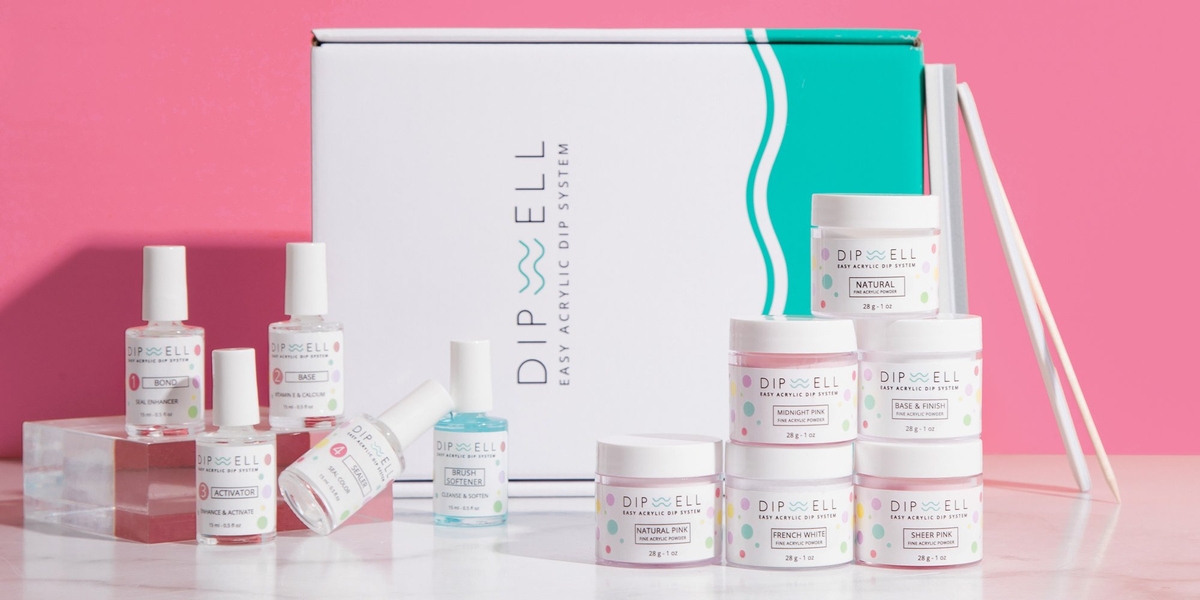
DipWell's Acrylic Dip System makes it super duper easy to create dip powder nails that last up to 6 weeks. But if they start chipping or cracking in, say, a week or so, we got some work to do.
DIP MANI REMEDY: Chipping and cracking can often be caused by not having enough dip layers or your layers being too thin. Cold weather is another culprit. 😲 The quick fix? On your next dip mani session, remember to add 1-2 layers of dip powder. Some DipWell users even prefer doing more than 2 layers. It boils down to personal preference so long as you apply an extra layer.
Read this to learn more about the gorgeous hack that’ll help break your nail biting habit.
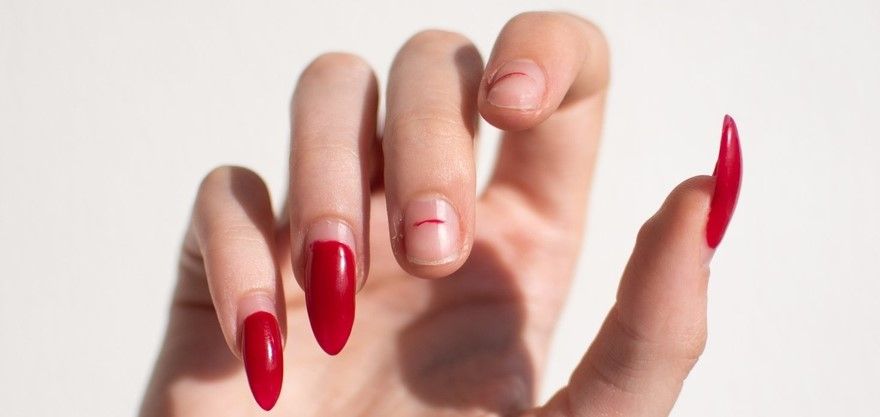
How to fix a torn nail (or lengthen your nails!)
So you’re about to attend a special event where you want to show off your perfect dip mani, then a nail or two decides to crack? Ugh, we’ve been there.
DIP MANI REMEDY: In case of a nail emergency, head over to your kitchen cupboard. Look for materials that can hold up like real nails. Common household items such as coffee filter, tea bag, cupcake liner, paper towel, or even fiberglass. We promise, it works! Watch our tutorial here to learn how you can go from “Oh, no!” to “Oh, wow!” in no time.
Read this to discover nail repair hacks using household supplies
Now that we've cracked the code on your dip nails troubles, let's get dipping!
Choose from our wide array of dip nail art. We have different styles for both novices and experts. And we regularly update our tutorials page with new dipping powder nail designs, so best to bookmark it. ;)
If the dip removal process is what's stopping you from trying out other dip nail colors as often as you want, you're not alone. Other DipWell customers feel the same. That's why in this article, we've discussed how to remove dip nails at home—including The Rice Method that only requires up to 15 minutes of your time. Check it out for all other quick-and-easy dip nail removal methods.
Got more dip-related questions? Connect with us via Instagram (@dipwellnails), and we'll make sure to troubleshoot your other dip powder problems. Better yet, don't hesitate to post your questions on our Facebook page (DipWell's Dipper Club). We have very active members, all eager to help you out.
Get free tutorials, special deals every week!
Sign up for fresh nail inspo & exclusive discounts delivered right to your inbox.
By subscribing, you acknowledge our Privacy Policy.